


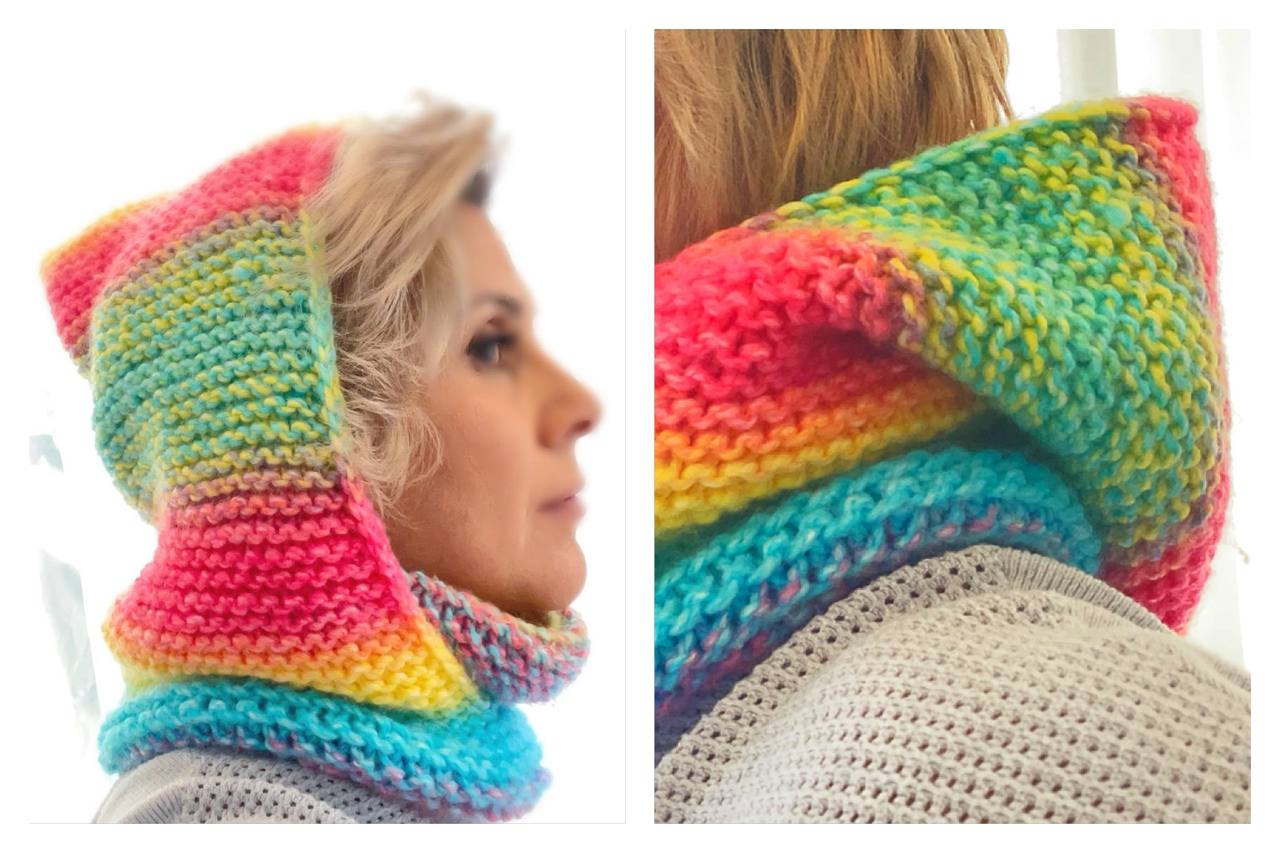
Hi everyone! Fariba here, and I’m excited to bring you another fun and creative tutorial on WatchKnitting.com! Today, we’re making a beautiful, stylish, and trendy hooded scarf that’s super simple to create. Even if you’re a beginner, this is a great project to try.
Materials Needed:
- 4mm, 20-inch circular needle
- 150 grams of bulky yarn
- Stitch markers
- Tapestry needle
Step 1: Casting On
- Cast on 61 stitches if using circular needles (60 stitches + 1 extra for joining).
- If using straight needles, cast on 60 stitches instead.
- To join the round seamlessly, transfer the extra stitch to your left needle, place a marker before it, and knit the first two stitches together. This ensures a smooth, continuous edge.
Step 2: Knitting the Neck Section
- Use garter stitch: alternate between one row of purl and one row of knit in circular knitting.
- If using straight needles, simply knit every row.
- Continue for 22 cm to form the neck portion.
Step 3: Creating the Face Opening
- After reaching 22 cm, knit 30 stitches past the connection line and place a marker.
- This marks the face opening section.
- Finish the row at this marker.
- Use the I-cord edge technique:
- Undo 3 stitches before the marker and, with the yarn at the back, pick them up on your right needle.
- Switch the needles, gently pull the yarn, and purl the 3 stitches.
- Return to the main pattern.
- Repeat this technique on the other end of the row.
- From now on, the connection line will be at the middle of the row for a seamless pattern.
Step 4: Completing the Scarf
- Continue knitting until the scarf measures 52 cm in total.
- End the last row with purl stitches to prepare for grafting.
Step 5: Grafting the Top Seam
- Use the grafting method for a seamless join.
- Lay both pieces flat with needle tips on the right-hand side.
- Using a tapestry needle:
- Insert the needle purl-wise into the first stitch of the bottom needle and pull the yarn through.
- Move to the top needle and insert the needle into the first two stitches purl-wise.
- Return to the bottom needle and insert knit-wise into the first stitch, then purl-wise into the next.
- Repeat the same process for the top needle.
- If you make a mistake, undo and correct it to ensure a neat seam.
- Remove the red yarn and use the working yarn for final finishing.
- Pull the needles out once stitches are secure and gently align edges.
Final Touches
- Transfer the remaining yarn inside the hat.
- If you want a pointy top, leave it as is.
- For a rounded look, sew the top edge slightly.
That’s It!
I hope you enjoyed this tutorial! If you have any questions, feel free to leave a comment. Don’t forget to subscribe to my channel for more knitting tips and tutorials. See you next time, and happy knitting! 🧶✨


Leave a Reply