


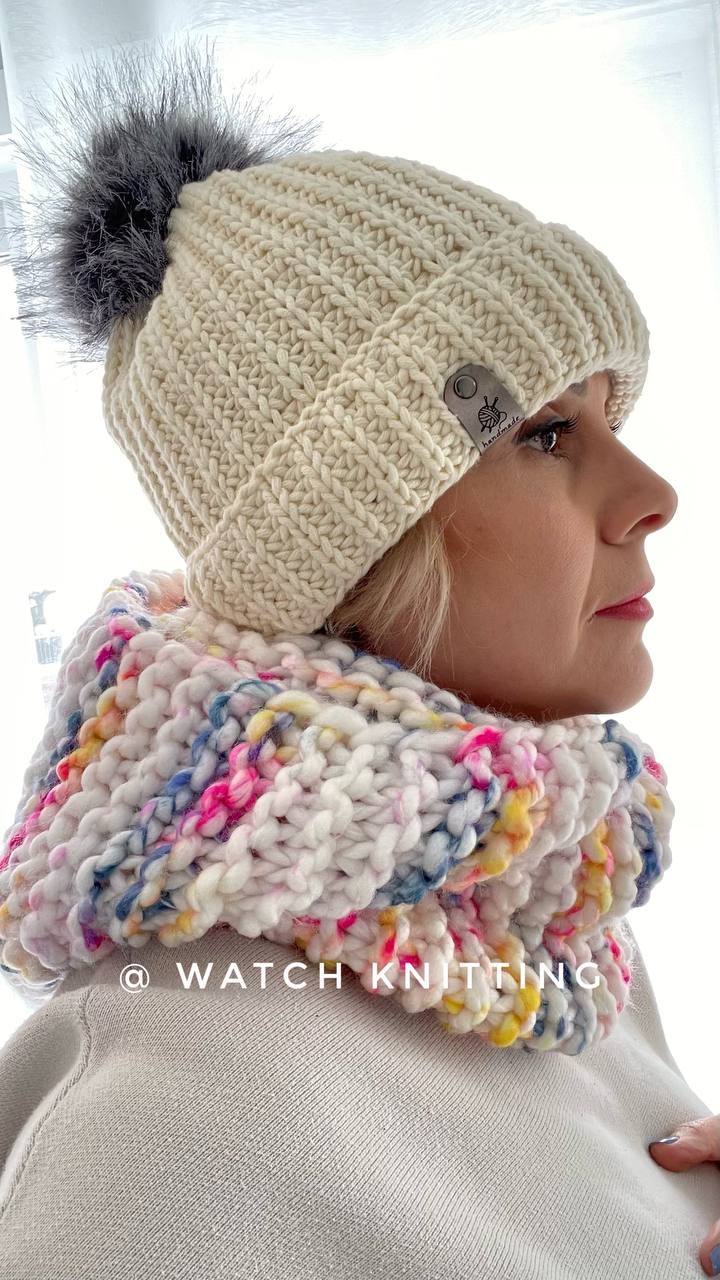
Hi everyone, welcome to this knitting tutorial! Today, I’m excited to show you how I made this cozy hooded scarf—perfect for styling and staying warm during those chilly days.
If you’re interested, sit back, relax, and let me walk you through the process!
Materials Used: For this project, I used two skeins of jumbo size 7 yarn from Loops & Threads with the recommended needle size of 9mm.
Weight: Jumbo (7)
Contents: 100% recycled pre-consumer acrylic
Skein Weight: 5.3 oz. / 150 g
Yardage: 82 yd. / 75 m
Here’s a breakdown of the steps:
- Creating the Neck Section:
- I cast on 20 stitches for the neck piece, aiming for a width of 29 cm.
- I knitted in garter stitch until the piece reached 52 cm in length.
- Note: If you’re using different yarn or needles, make sure to adjust the stitches to match 29 cm in width.
- Making the Hood:
- For the second piece, I cast on 18 stitches to achieve a width of 26 cm.
- I knitted until the piece reached 60 cm, forming the main part of the hood.
- Tip: The key here is that the length of the smaller piece should be about twice the width of the larger piece.
- Assembling the Pieces:
- I folded the wider neck piece in half horizontally and joined the edges together using a tapestry needle and the remaining yarn from the cast-off.
- Then, I folded the second piece’s corners toward the middle and placed it on top of the neck piece, creating a slight overlap of 2-3 cm in the front to form the face opening.
- I used the remaining yarn to sew the two pieces together and aligned the fabric as I stitched.
- Finishing Touches:
- I sewed the back of the hood by folding the remaining section and using the yarn tails from both pieces.
- After completing the sewing, the hooded scarf was ready to wear!
Since I used thick yarn, this project only took a couple of hours to complete.
Final Thoughts: I hope you enjoyed this tutorial and found it helpful! It was so much fun to share this process with you all. If you have any questions or feedback, feel free to leave a comment below—I’d love to hear from you!
Thank you so much for being part of this journey. Take care, stay creative, and have a wonderful day! ✨


Leave a Reply