
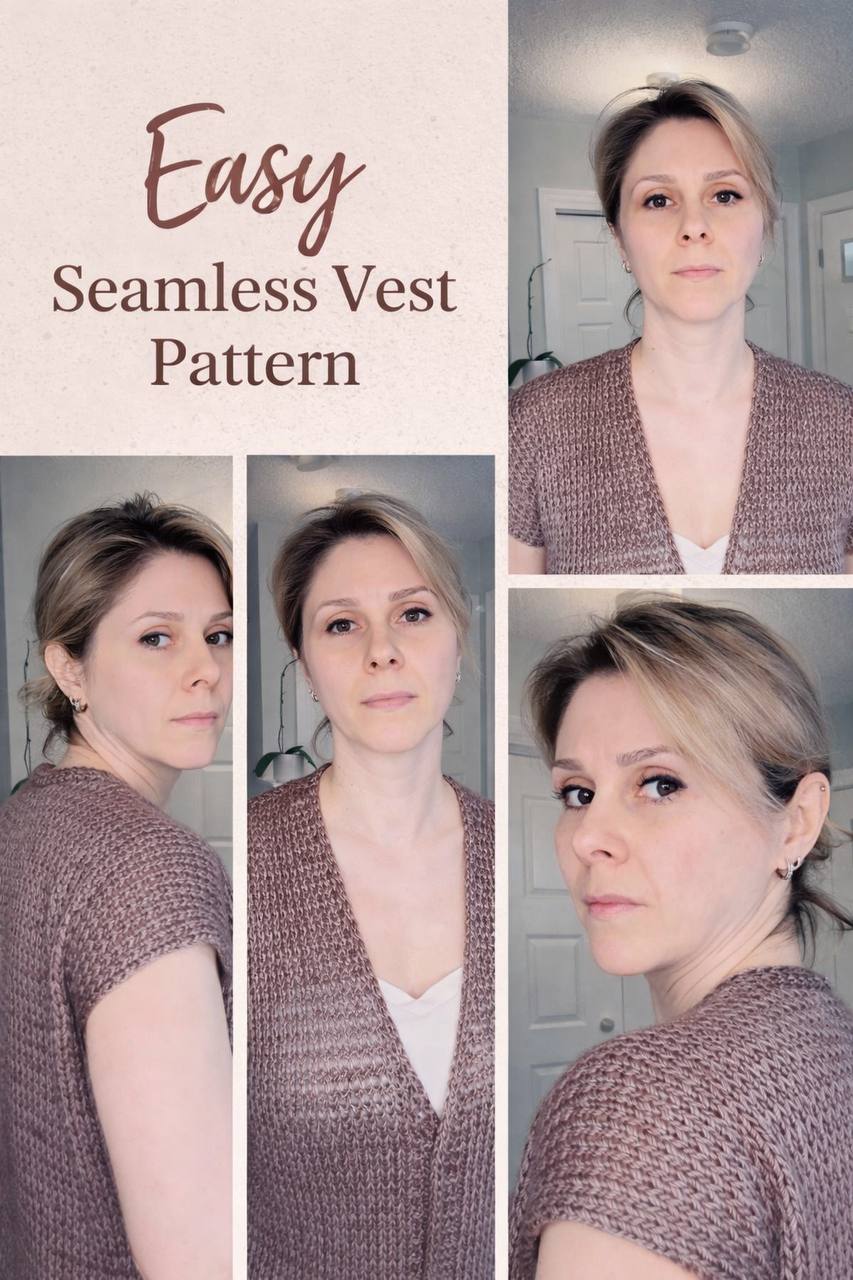
If you’re looking for a simple, cozy project you can finish in just a couple of days, this seamless knitted vest is a perfect choice. No shoulder seams, no complicated shaping—just a smooth, clean design that comes together beautifully.
In this tutorial, you’ll learn how to knit a vest from front panels to back, including shaping the neckline and shoulders with a simple repeating pattern.
✨ Why You’ll Love This Pattern
- Seamless design – no bulky shoulder lines
- Beginner-friendly – simple 2-row repeat pattern
- Quick project – can be completed in a few days
- Minimal tools required
🧵 Materials You’ll Need
- Worsted weight yarn (approx. 350g / 4 skeins, 95% wool recommended)
- 4.5 mm knitting needles
- Measuring tape
- Scissors
- Tapestry needle
- Stitch marker
🪡 Getting Started
Begin by casting on two separate panels, each with 35 stitches.
These will form the left and right front sections of your vest.
- Mark 5 stitches on each panel for garter stitch (these will be your edges)
- Make sure the marked stitches are on the side without the yarn tail
🧩 Creating the Two Panels
- First panel: Start directly with the pattern
- Second panel: Begin with one purl row, then continue the pattern
This small difference ensures both panels mirror each other correctly.
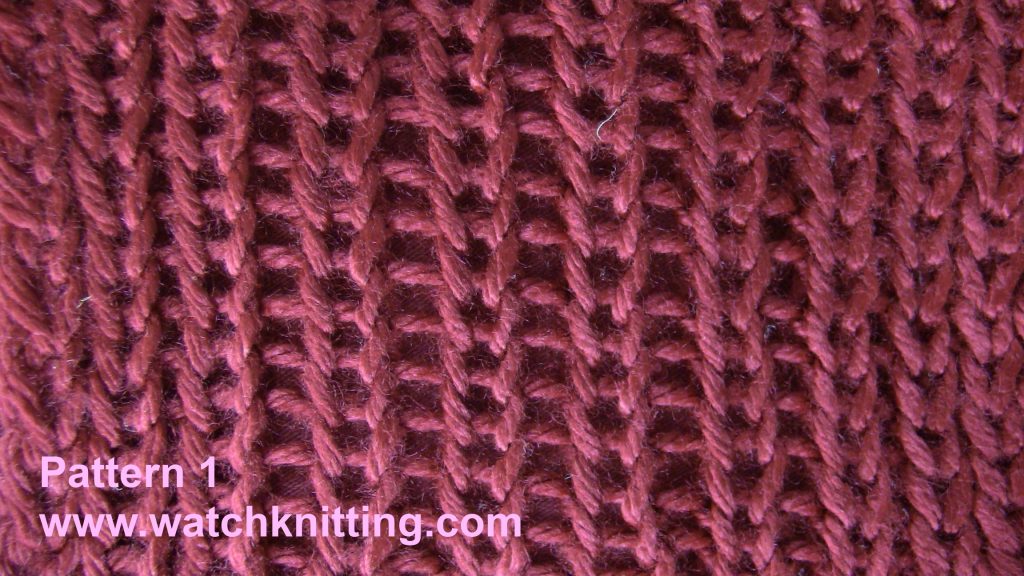
🔁 The Stitch Pattern (2-Row Repeat)
This vest uses a very simple pattern:
Row 1:
- Yarn over before every stitch
- Knit each stitch
- Repeat across
Row 2:
- Purl each stitch
- Drop the yarn overs as you go
👉 Important: The yarn overs are part of the pattern—not increases.
Repeat these two rows until your piece reaches the desired length.
📏 Shaping the Front Neckline
When your piece reaches about 15 inches, begin shaping:
- Decrease 1 stitch every other row
- Repeat 3 times (total of 6 rows)
- This reduces stitches from 35 → 32
Continue knitting straight for another 4–5 inches.
🧷 Shoulder Straps
- Keep only the 5 garter stitches
- Knit them for about 3–3.5 inches
- Bind off
Repeat for the other side.
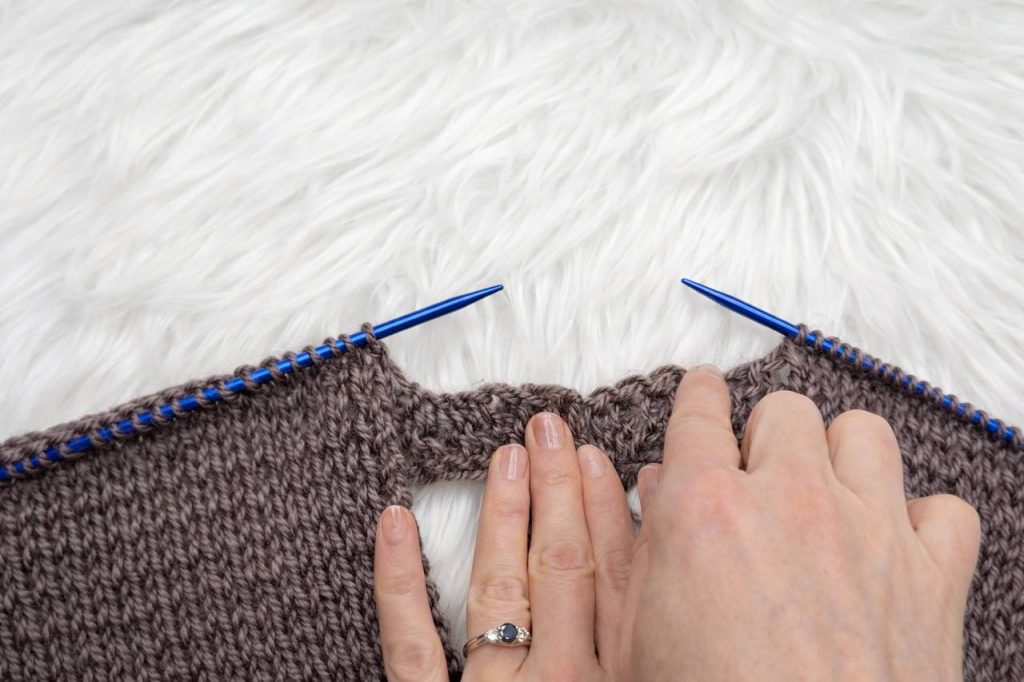
Then join the two shoulder straps together from the bind-off edge.
🔄 Knitting the Back
With the stitches from the right panel still on your needle, begin picking up stitches evenly along the inner edge of the garter stitch.
Once all stitches are picked up, attach a new strand of yarn at the left side, then continue knitting across the left panel stitches, following the same pattern as before.
Now that all stitches are joined on a single needle, continue working in pattern until the back reaches the same length as the front.
🪢 Finishing
- Join the sides using mattress stitch for a clean, invisible seam
- Lightly steam the finished piece to smooth and shape it
The result? A beautiful, seamless vest with a soft, textured pattern.
💡 Final Thoughts
This vest is a perfect mix of simplicity and style. Whether you’re new to knitting or just want a relaxing project, this pattern delivers a polished look without complicated steps.
If you follow along carefully, you’ll end up with a handmade piece you can proudly wear or gift.





Leave a Reply