


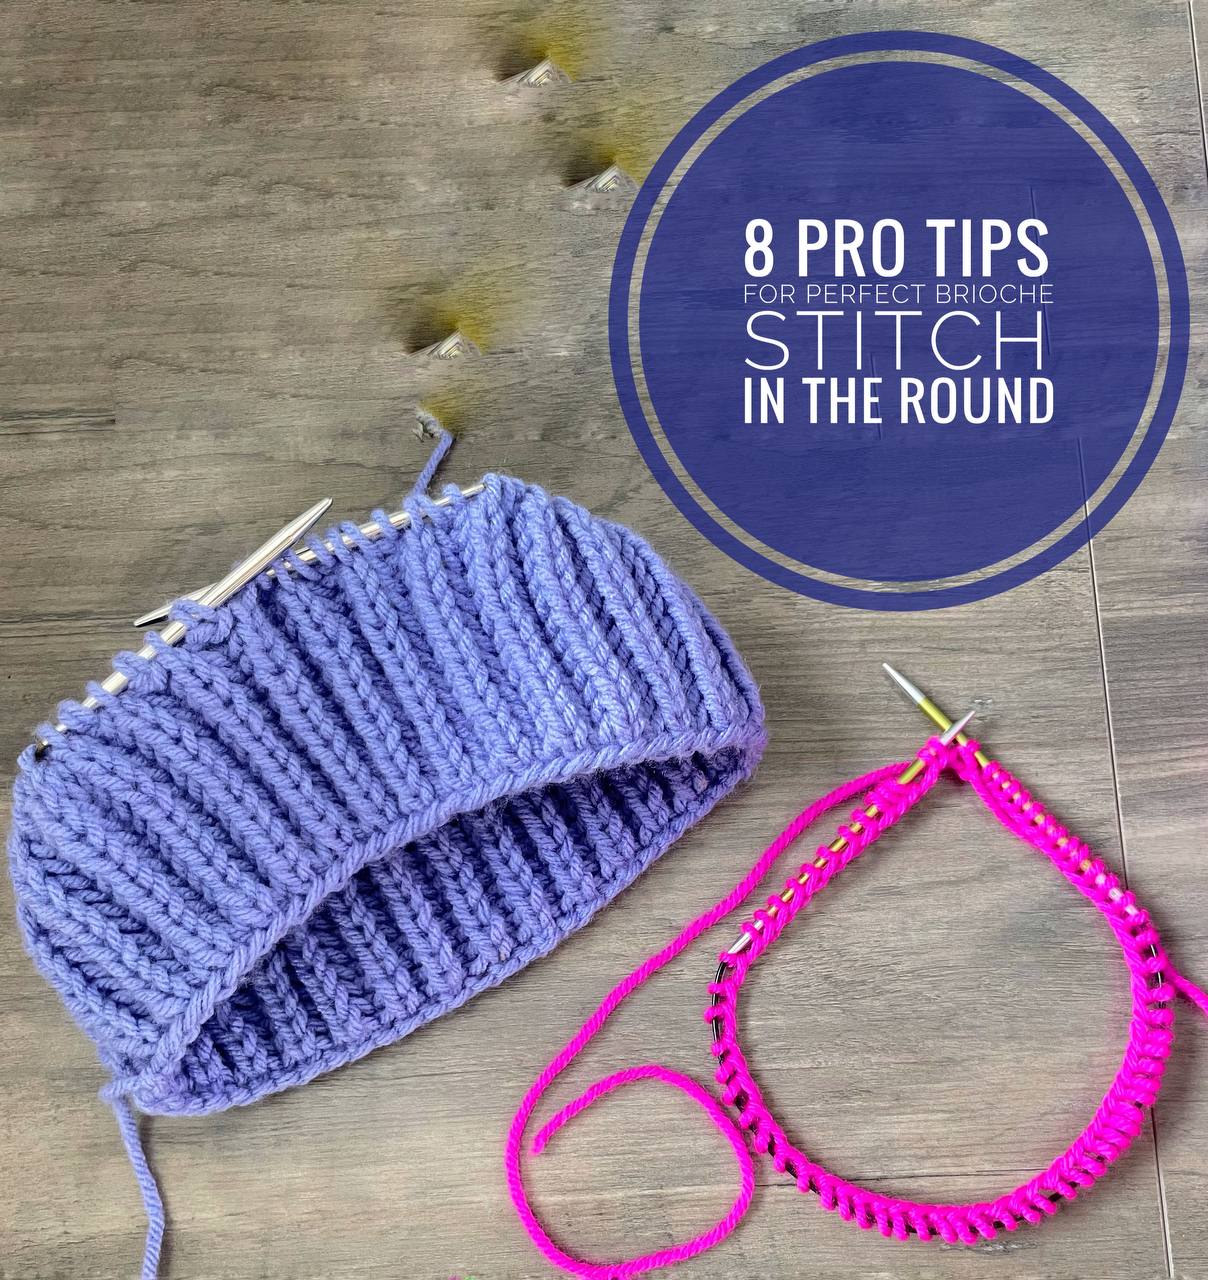
How to Knit One-Color Brioche Stitch in the Round
Welcome to WatchKnitting! In this tutorial, I’ll guide you through knitting the one-color brioche stitch in the round—a super squishy and stretchy fabric perfect for hats, cowls, and more.
Materials Needed:
- 3.5 mm, 16-inch circular needles
- Worsted weight yarn
- Stitch marker
While 4.5 mm needles are typically recommended for worsted weight yarn, I suggest downsizing for brioche stitch to enhance stitch definition.
Pro Tip 1: Select smaller needles for better definition
Casting On:
For brioche stitch, cast on an even number of stitches. However, since the setup round adds one stitch for every two stitches with yarn overs, consider casting on approximately two-thirds of your usual stitch count.
Pro Tip 2:Cast on two-thirds of your usual stitches
Pro Tip 3: Use a double-needle cast-on for a stretchy edge, but for the first and last two stitches, use a single needle to avoid a loose join.
For this demonstration, I’ll cast on 60 stitches plus one extra stitch. This extra stitch will be knit together in the setup round, bringing the stitch count back to 60 (an even number). Now, I have 58 stitches on my needle; for the last two stitches, I use a single needle. Carefully remove the extra needle and add two more stitches plus one extra, making 61 stitches in total. This extra stitch ensures a smooth and gap-free join.
Pro Tip 4: Add one extra stitch for a seamless join
Joining in the Round:
Tie the yarn ends and make sure your stitches aren’t twisted. Transfer the extra stitch to the left needle and place a stitch marker.
Brioche Setup Round:
Brioche in the round starts with a setup round followed by a two-round repeat.
At the beginning of the setup round, the first stitches are knit together—this is for joining, not part of the repeat. The setup round repeat is:
- Knit 1, slip 1 yarn over (SL1YO)
This means you knit one stitch (knitting two together for the join), then yarn over and slip the next stitch purlwise (SL1YO). These two stitches will be worked together in future rounds as either k2tog or p2tog.
Continue repeating knit 1, yarn over, slip 1 until the end of the round.
Pro Tip 5: I slip the stitch and make the yarn over in one smooth motion while placing my finger on top of the stitch—this saves time and maintains even tension.
At the end of the setup round, you should finish with SL1YO. If not, something went wrong, and you should check your work. Ensure the last yarn over is positioned correctly at the back.
Brioche Two-Round Repeat:
Pro Tip 6:In brioche knitting, single stitches are slipped, and paired stitches are worked together using either k2tog or p2tog. ( When there is a single knit stitch, work SL1YO, next P2TOG )–>> Round 1. ( When there is a single purl stitch, work SL1YO, next K2TOG )–>> Round 2
Round 1 (Purl Round):
- SL1YO (Slip 1, yarn over), Purl 2 together (P2tog or BRP – Brioche Purl)
Since rows are offset, the stitch before the marker must always match the stitch after the marker (both must be SL1YO or k2tog/p2tog as a pair).
Pro Tip 7:The stitch worked before & after the marker must always match
Continue SL1YO, P2tog until the end of the round.
Round 2 (Knit Round):
- Knit 2 together (K2tog or BRK – Brioche Knit), SL1YO
Since the previous round ended with P2tog, this round starts with K2tog to maintain the offset pattern.
These two rounds form the brioche pattern. Keep alternating between the knit round and purl round.
Pro Tip 8: Rounds alternate between K2Tog and P2Tog
Following the Pattern Without a Stitch Marker:
I switch to another sample where the lines are more defined. Instead of using a stitch marker, I determine my next step by reading my knitting:
- If I see a yarn over and a slipped knit stitch, my last stitch was P2tog.
- If the next stitch on my left needle is a single knit stitch, my repeat is still SL1YO, P2tog.
Following these tips makes it easy to recognize which round to work next.
When I reach a point where two stitches need to be worked as a group, I know I’m at the Round Transition Line and need to switch to the next round.
Binding Off:
For a clean finish, use a stretchy bind-off. I have a tutorial on this technique in my short videos and at the end of my one-color brioche stitch tutorial for flat knitting.
Final Thoughts:
I’ve worked hard to create a clear and easy-to-follow tutorial, and I hope you enjoyed it! If you have any questions, feel free to leave them in the comments. Stay tuned for my upcoming tutorial on two-color brioche stitch, both flat and in the round.
Happy knitting! 🧶


Leave a Reply