


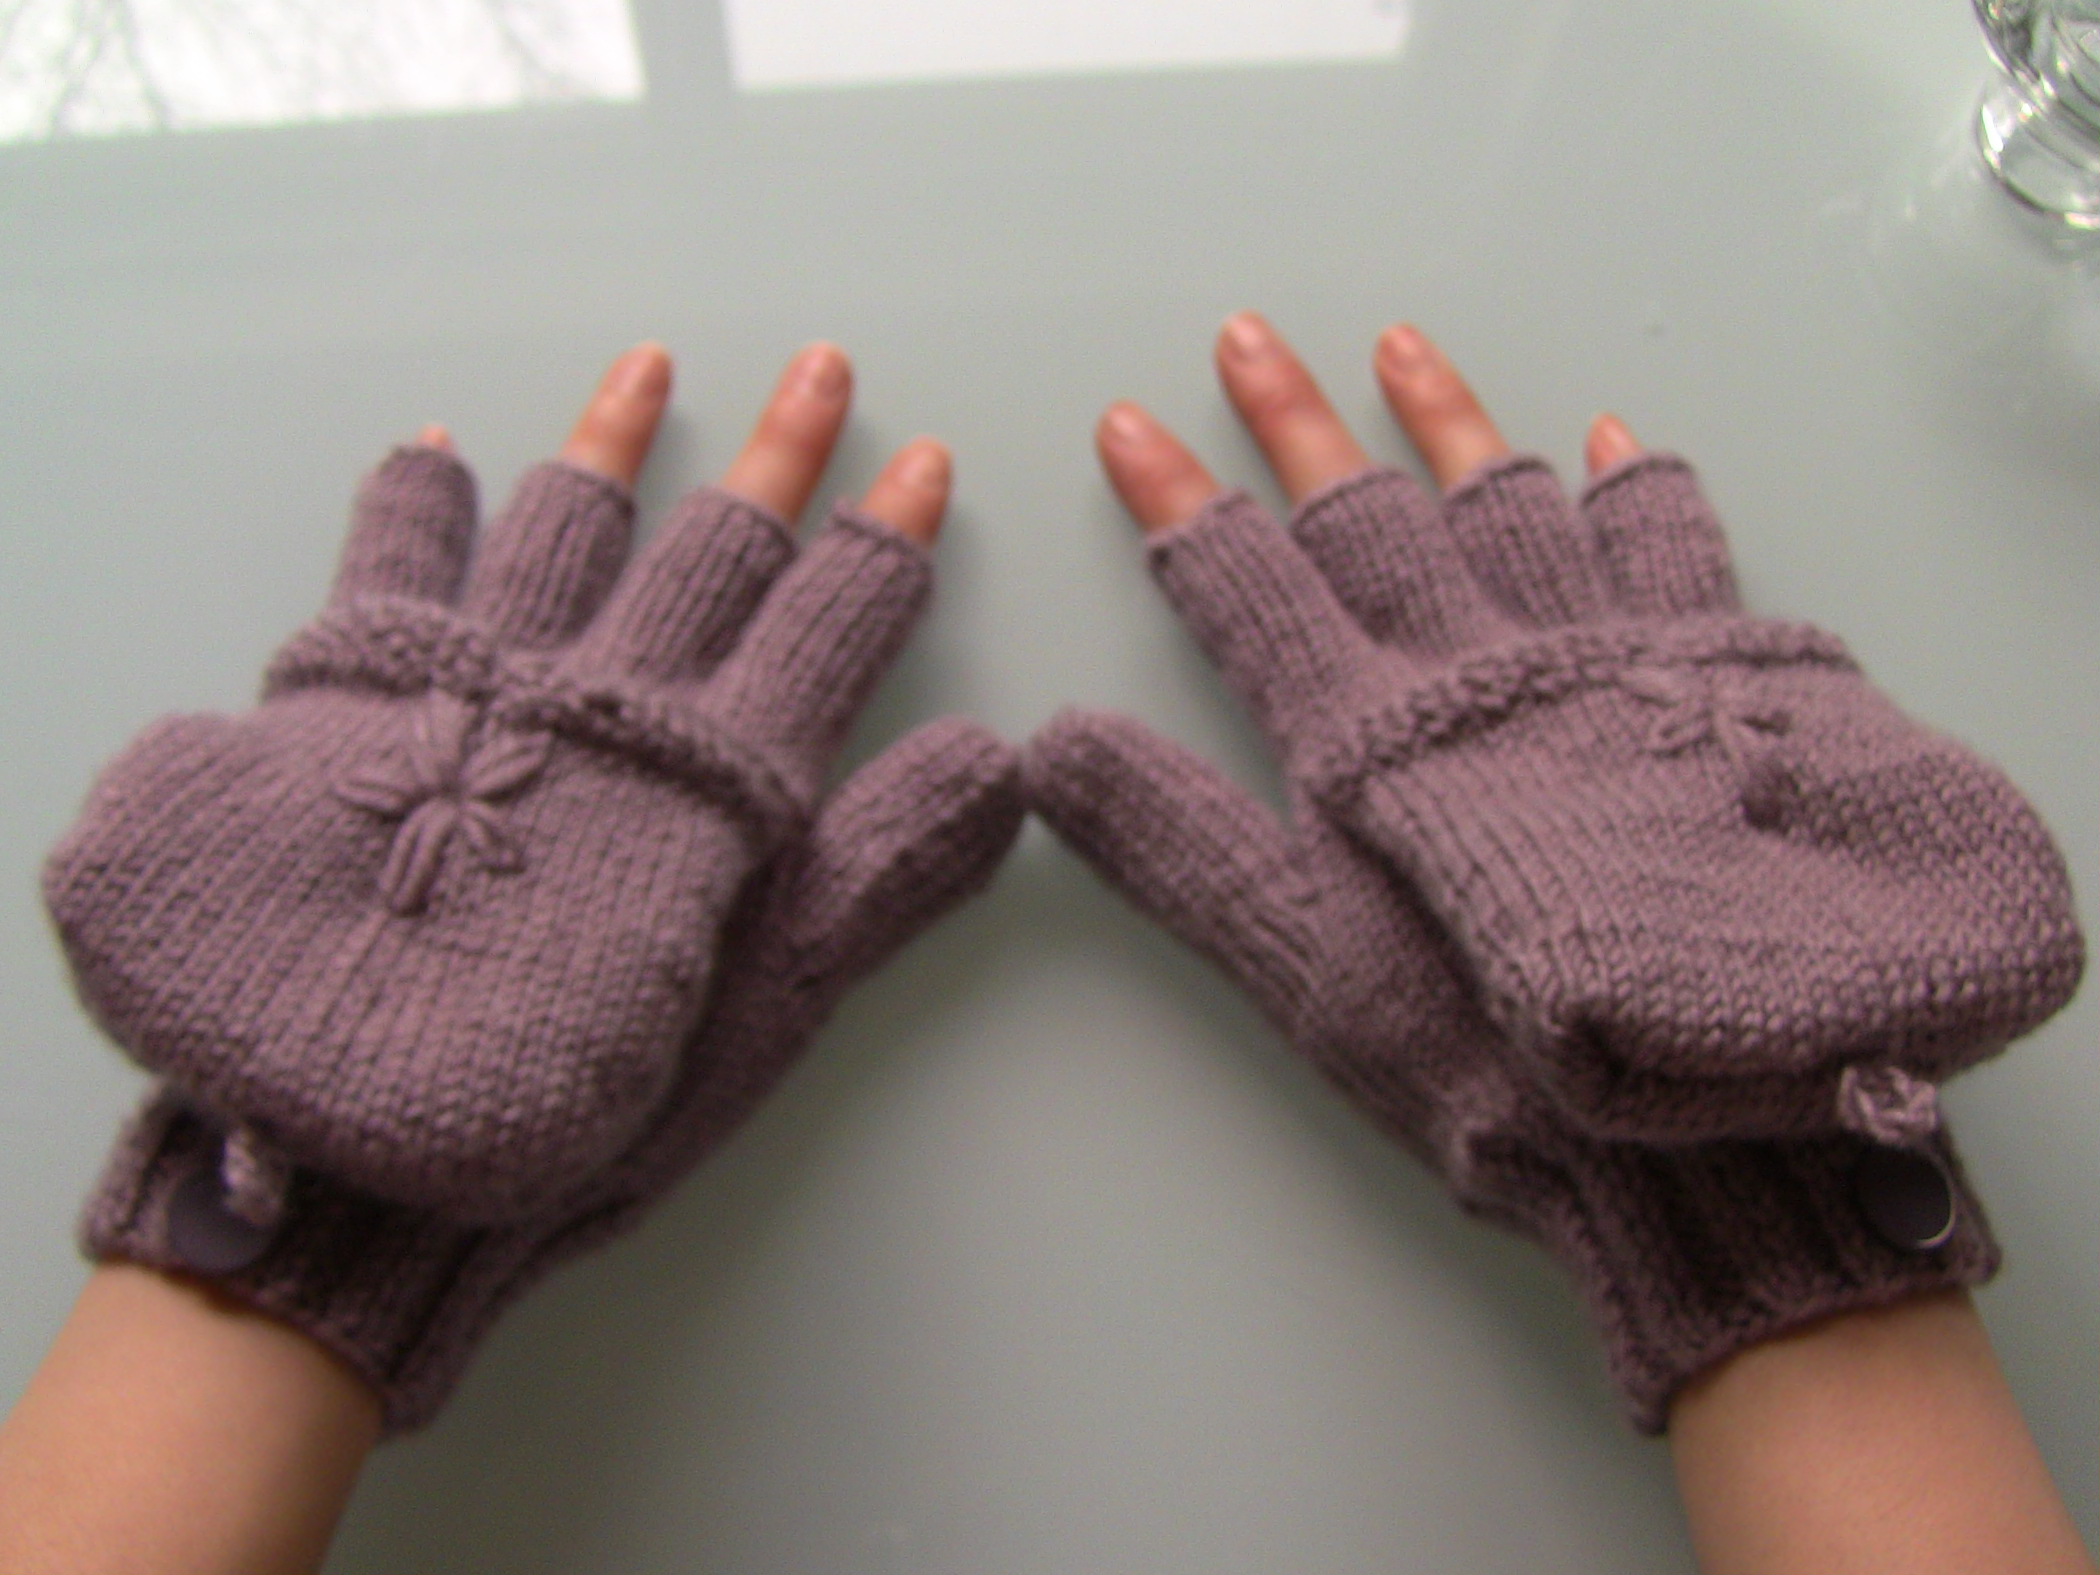
Hey guys! It’s been a long time since I decided to make this tutorial. By so far it has been my longest tutorial. To make it easy to navigate through each section, I divided the tutorial into five parts. Part 1 covers: how to start the glove and do cuff and the palm loop, part 2 covers: marking the thumb line, part 3 covers: how to make fingers, part 4 covers: how to make thumb itself, and part 5 covers: how to make flip cups and finishing.
Materials:
The material that you will need to make these mittens are:
- medium size yarn (number 4 in US sizing)-preferably wool yarn
- number 2.5 mm needles (number 1 in US sizing) + another Spare needle almost the same size
- pair of scissors
- piece of scrap yarn
- large eye blunt needle
- big safety pin or stitch holder
- measuring tape
- some buttons
Sizing:
The given size for this tutorial is small and you need to cast on 48 stitches for small size. For any size larger than that, you will need to add multiple of 8 stitches to 48, and for any size smaller, you will need to deduct multiple of 8 stitches from 48 stitches. For example; for a medium size you need to add 8 stitches to 48 stitches, which adds up to 56 stitches, and then prorated extra stitches on fingers.
Part 1
Cast on:
48 stitches for small glove
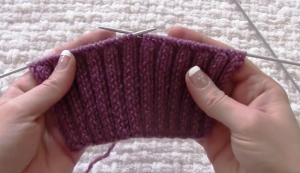
Cuff:
Work on a Rib stitch for about 3 inch. (ex: rep*(K2, P2))
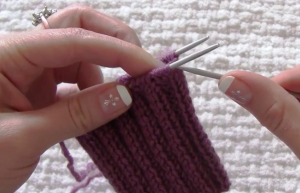
Loop technique for palm:
After finishing the Rib stitch you will need to make a loop to create the glove palm.
For this technique you get the spare needle and divide stitches into two equal parts by sliding half of stitches from left needle to the right needle. Then fold the piece in half and hold them in your left hand, get the third needle and slip one stitch at a time from each needle in the left hand to the right hand, alternately, and preferably starting from front needle. (see important note below)
NOTE 1: This is very important to remember which needle you slip the first stitch from, because in the following rows your instruction will rely on that stitch. Having even number of stitches, if you get the first stitch from front needle, then in following rows your instruction will be repeating (K1, Sl1) for all rows, if you slip the first stitch from back needle, then your instruction for all following rows will be repeating (Sl1, K1) instead of (K1, Sl1). If you miss this note you will not be able to make a loop and your piece will be a flat fabric instead of loop!
Next, you are going to repeat (K1, Sl1) for all following rows if you slip the first stitch from front needle when slipping stitches, or (Sl1, K1) for all following rows if you slip the fist stitch from back needle when slipping stitches, and you must MOVE the yarn to the front before slipping the stitch.
Let say you slip the first stitch from front needle when slipping stitches, then you will repeat (K1, Sl). In that case you will see that the first stitch is free and the working yarn is connected to the next stitch. Insert the tip of right needle into the first stitch and grab the string from the second stitch and knit it, then move the string to the front and slip the second stitch to the right needle. You are going to repeat (K1, Sl) for the rest. (see important note 1&2)
NOTE 2: It is important to move your working yarn between stitches otherwise your piece will be a flat fabric instead of loop!
You need to repeat knitting with this instruction until your piece measures 2.5 inch. Then you will mark some stitches from the row that your thumb will be made on it later.
What is next:
Go to part 2: marking the thumb line
Other links:
Part 3: how to make fingers
Part 4: how to make thumb
Part 5: how to make flip cups and finishing


Leave a Reply