


Hello everyone!
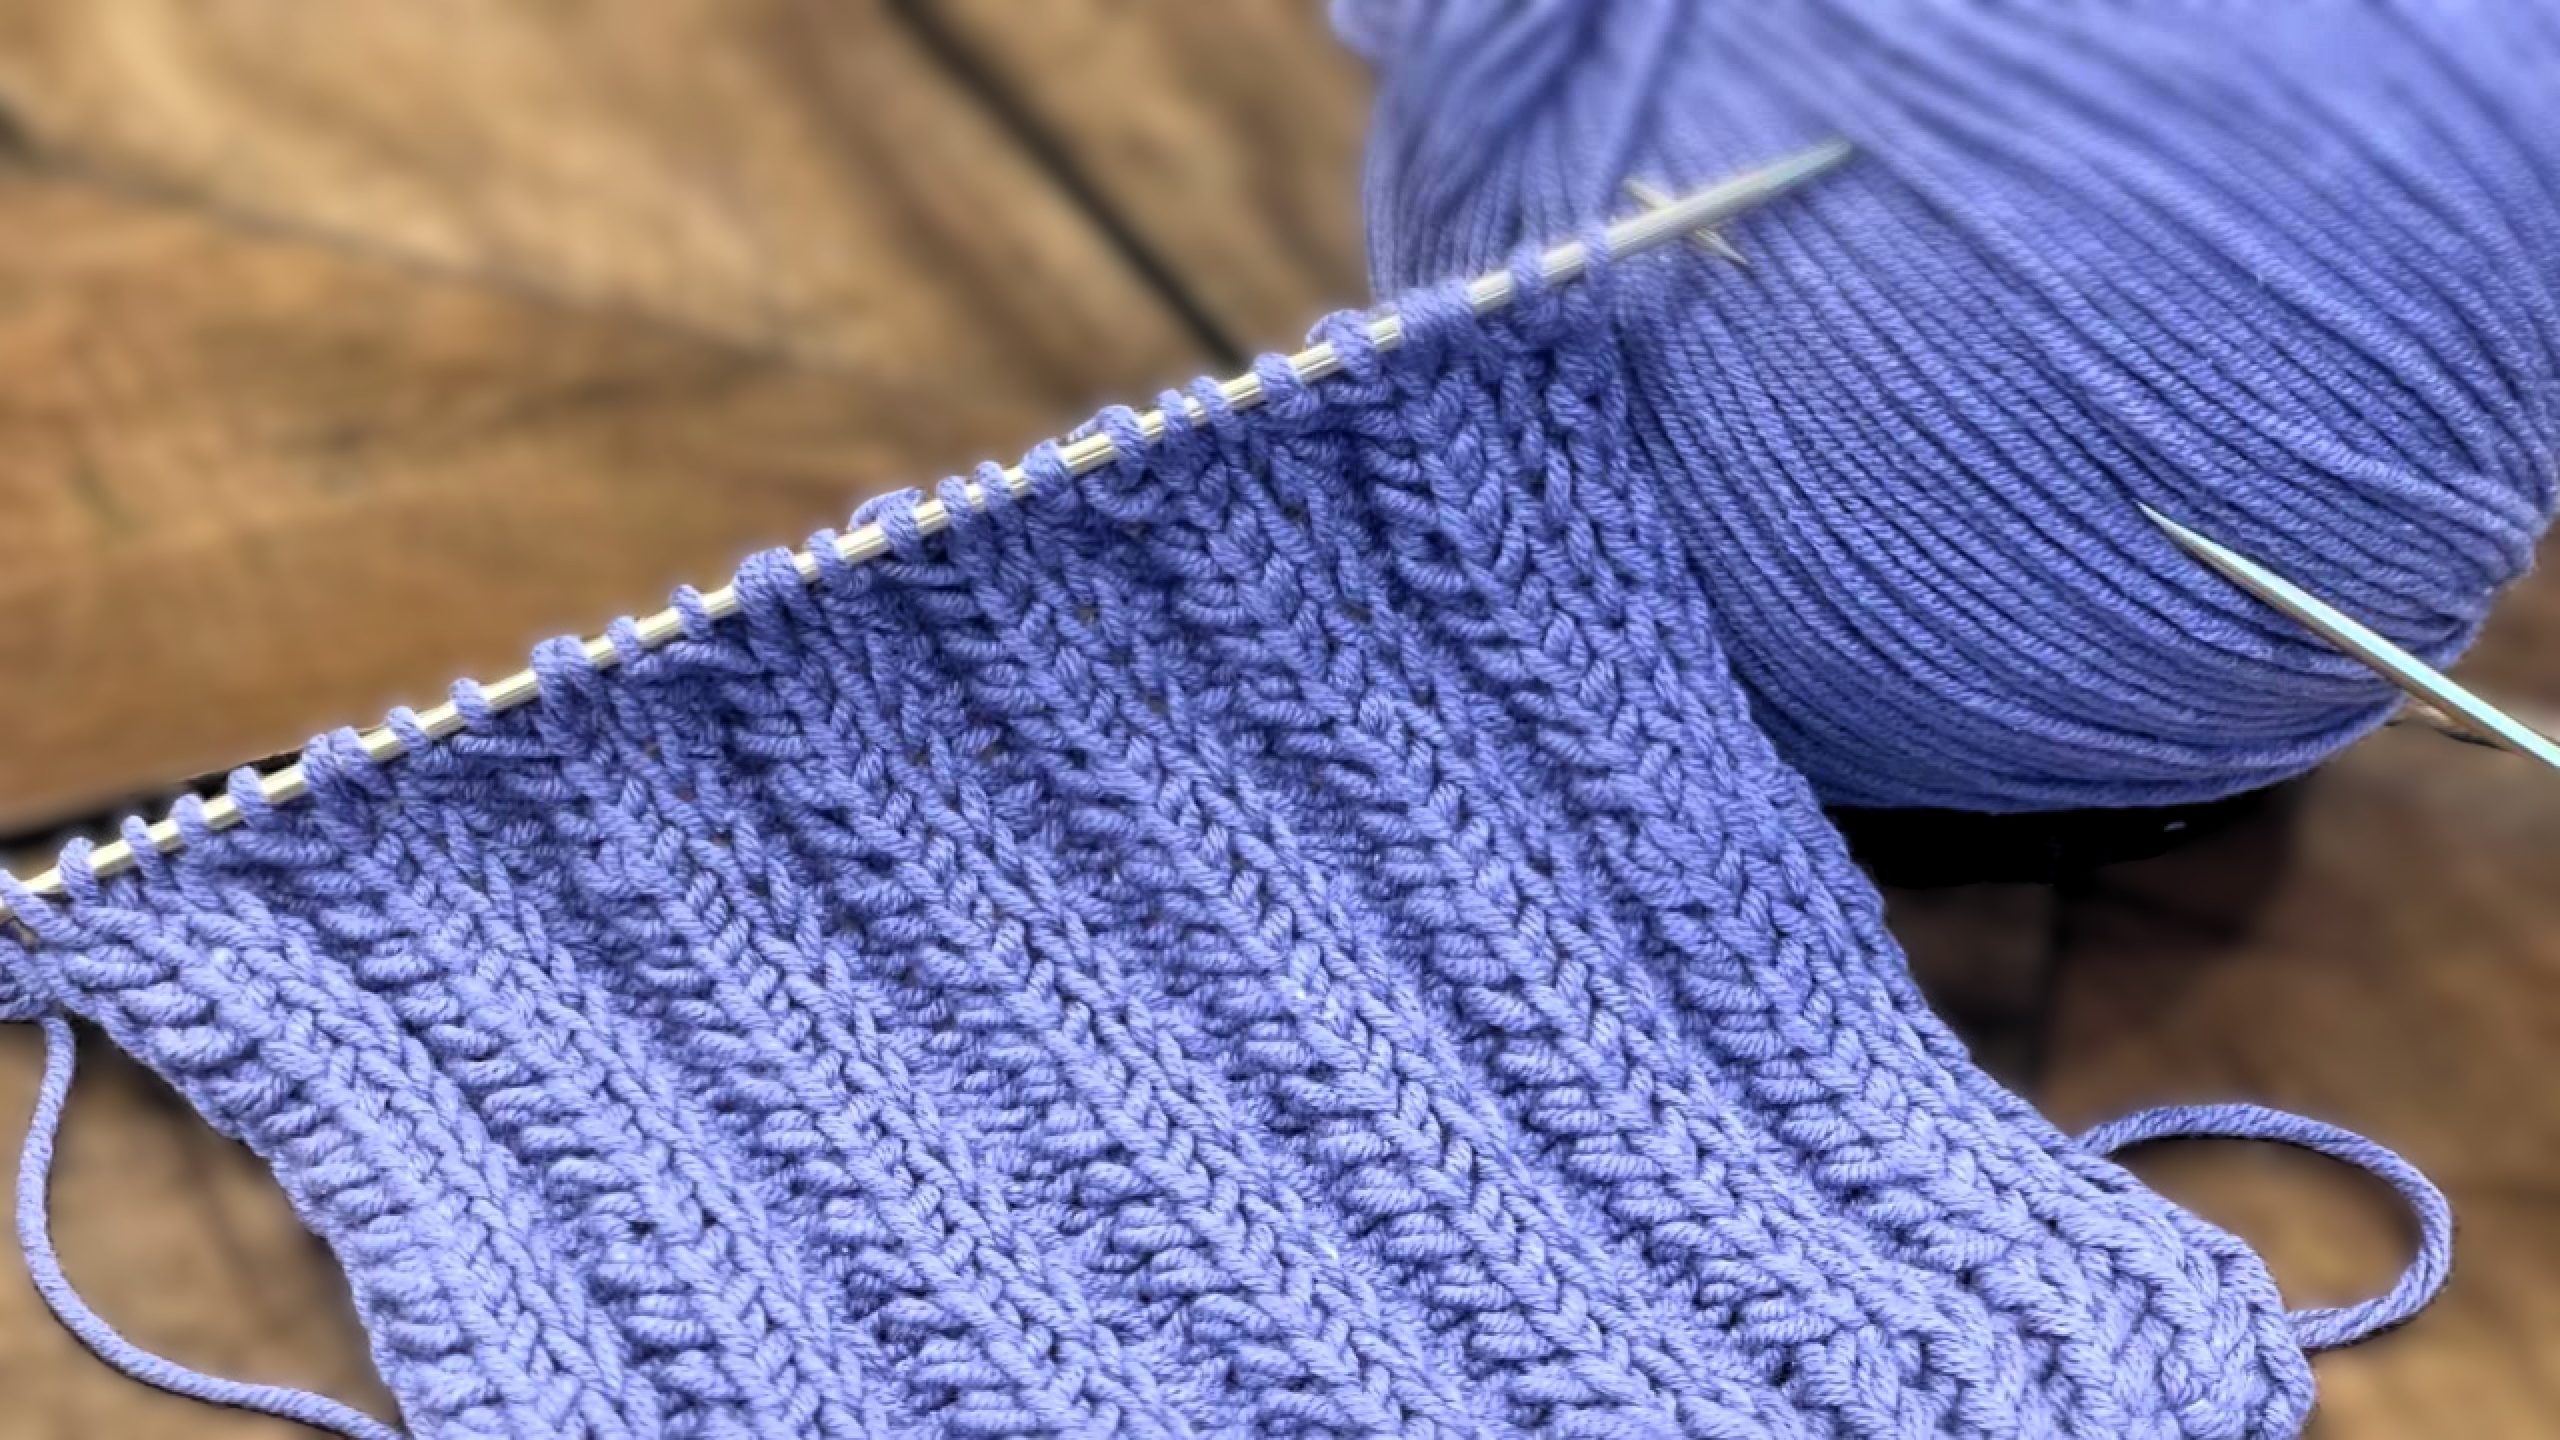
Welcome back to WatchKnitting.com! This is Fariba, and today I am thrilled to share my very own creation, the Regal Ribbing Stitch. This elegant rib pattern is a unique design that I’ve poured a lot of creativity into. Despite its sophisticated look, it’s surprisingly simple and so much fun to knit! I’m excited to guide you through the steps to create this beautiful stitch.
About the Regal Ribbing Pattern
To knit the Regal Ribbing pattern, you will need to cast on a multiple of 4 stitches plus 2. This pattern repeats every 4 stitches, with two edge stitches, and is worked over two rows.
Step-by-Step Instructions:
Row 1 (Right Side):
- Pick up the edge stitch. At the end of the row, you will knit the edge stitch as well.
- Repeat purl 2, knit 2 across the row. This part feels like a simple double ribbing pattern but starts with a purl stitch.
- At the end of Row 1, you will finish with 3 knit stitches—the last stitch being the edge stitch.
Row 2 (Wrong Side):
- Start by picking up the edge stitch as usual.
- Purl the first stitch.
- Knit one below the second stitch
- Then, for the next two knit stitches, work into the stitch below to create the crown-like texture. Here’s how to do it:
- Insert the tip of your needle from the back into the stitch below.
- Then, insert it from the front into the next stitch.
- Grab the yarn from the back, place it on your right needle, and knit two stitches together through the back loop.
- Continue the sequence: Purl 1, Knit 1 Below.
- For the next set of two knit stitches, repeat the same process:
- Insert the needle from the back into the stitch below.
- Then, from the front into the next stitch below.
- Grab the yarn, knit the two stitches together through the back loop.
Tips and Tricks:
- Watch the slow-motion demonstration of the stitch to perfect your technique.
- Remember, the crown-like effect is created by knitting into the stitch below and combining two stitches through the back loop.
Final Thoughts:
As you can see, the Regal Ribbing Stitch is as simple as it is stunning! I hope you enjoyed this tutorial and feel inspired to incorporate this pattern into your next project. Whether it’s a cozy scarf, a stylish sweater, or something else entirely, this design is sure to add a touch of elegance.
If you liked this tutorial, don’t forget to comment, share, and subscribe for more knitting ideas. Your feedback means the world to me, so feel free to share your thoughts or ask any questions in the comments.
Thank you for visiting WatchKnitting.com and stay tuned for more exciting stitch tutorials and tips.
Happy knitting! 🌟


Leave a Reply