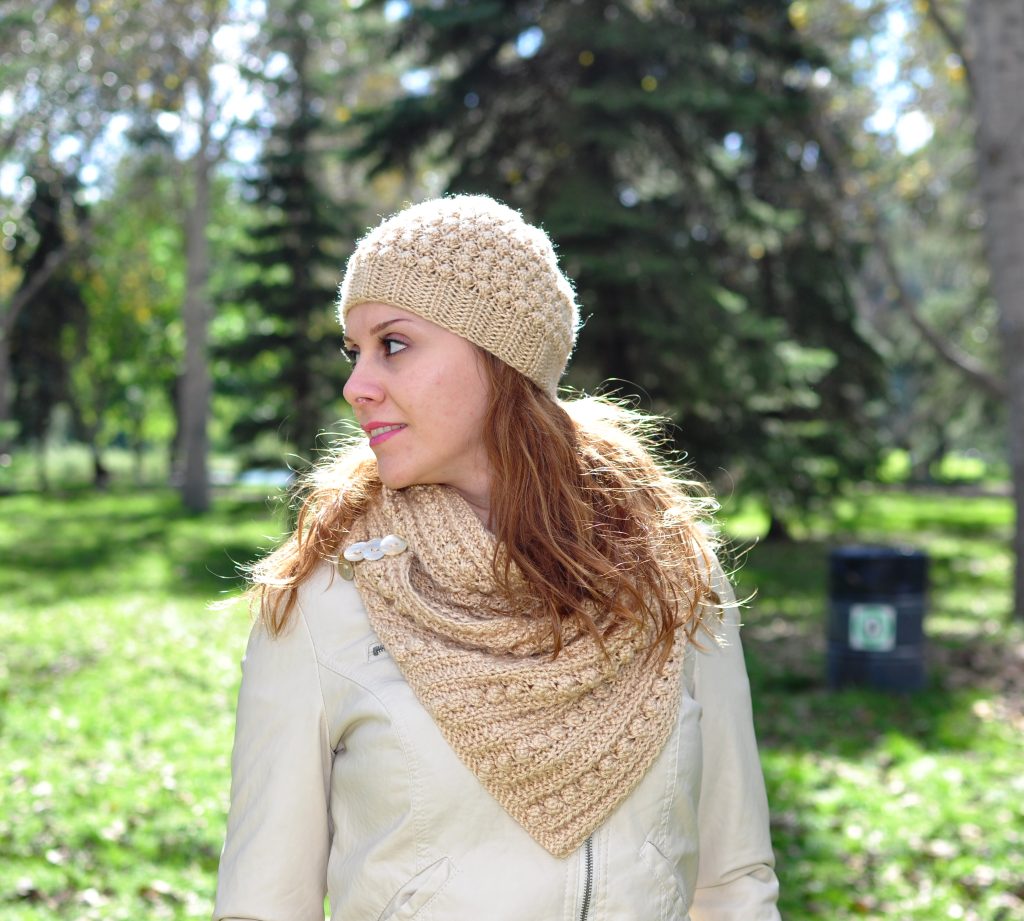
Hi there! Welcome to my channel. I’m Fariba, and today, I’m thrilled to guide you through creating a cozy and stylish Cuff Beanie Hat.
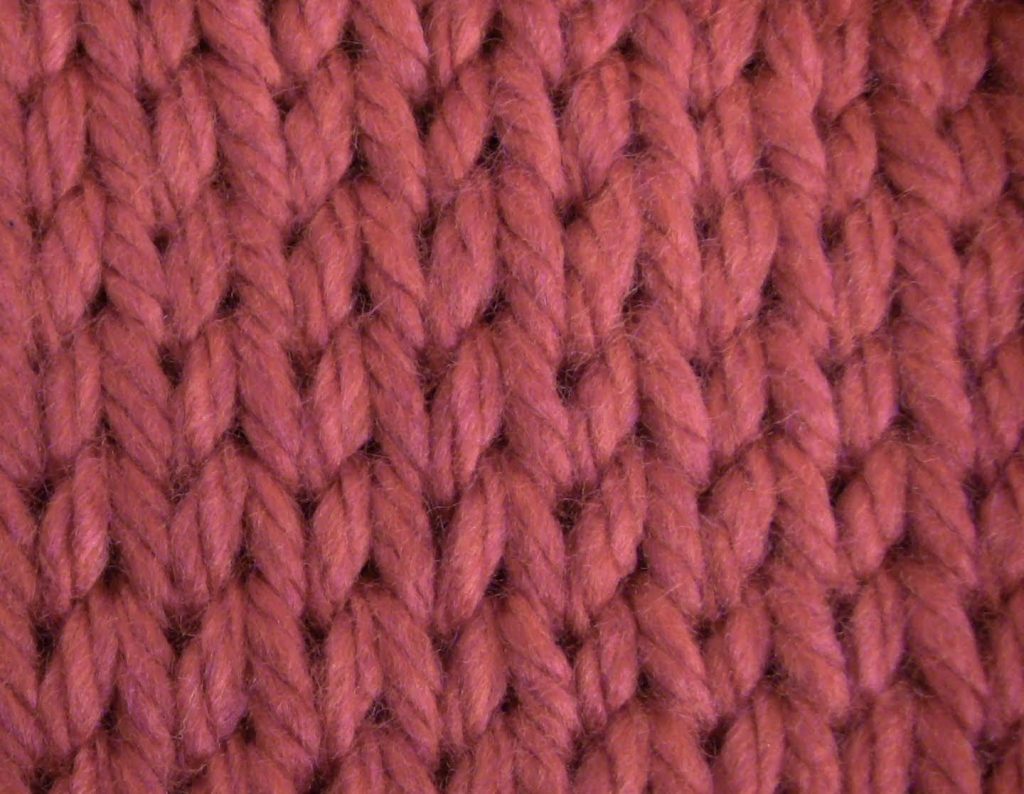
This project uses the beautiful Half Fisherman Stitch, which I’ve covered in a previous tutorial. Don’t worry if you’re new to it—I’ll provide a brief demonstration in this video, and you can find the detailed tutorial linked below.
Materials Needed:
- Yarn: 100g for smaller sizes or 140g for larger sizes of bulky yarn (I used Loops and Threads).
- Needles: 4 mm (US size 8).
- Tapestry needle
- A pair of scissors
- Measuring tape
Getting Started
For this ribbed pattern, you’ll cast on a multiple of 2 + 1 stitches. I used 77 stitches for a larger size, as I plan to add a lining later. For most adults, 71 stitches should work perfectly. You can even adjust the numbers for kids’ sizes—examples are included below!
Infants: 49 stitches
Toddlers: 55 stitches
Kids: 61 stitches
Step 1: Knitting the Cuff
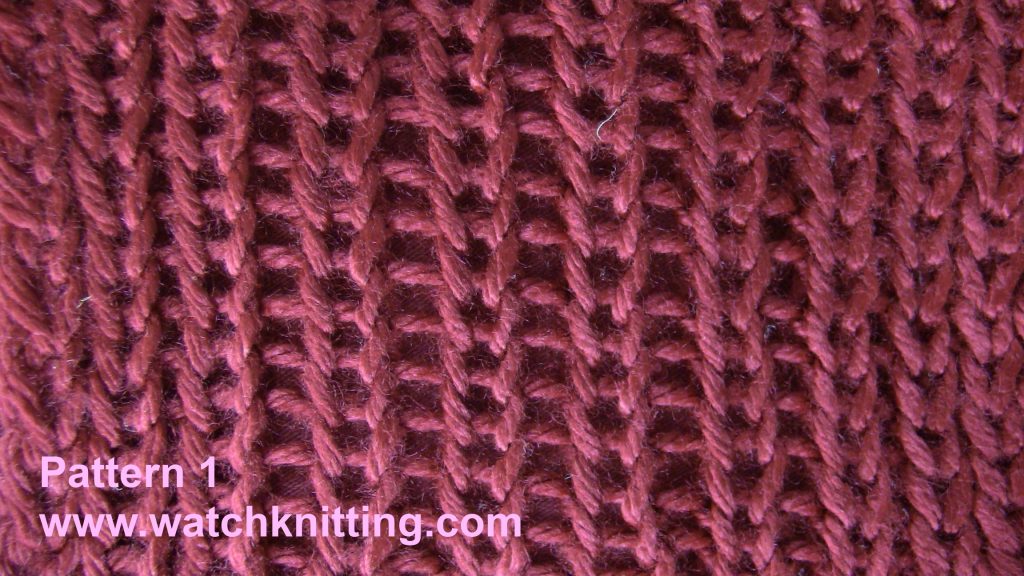
This pattern is a simple two-row repeat. Here’s how:
Row 1:
Knit all stitches across.
Row 2:
- Pick up the edge stitch.
- Repeat: Purl 1, Knit 1 Below.
- To knit one below, insert the needle into the stitch below the next one on your needle.
Repeat these two rows until you’ve completed 18 rows, or until the piece measures about 8 cm. This will form the cuff for your beanie.
Step 2: Binding Off the Cuff
Once the cuff is ready, bind it off using your preferred method. I usually knit and pull the previous stitch over the next one.
Step 3: Picking Up Stitches for the Main Hat
Lay the ribbed piece flat with the right side facing up, ensuring the pattern orientation is pointing upward.
Flip the cuff from top to bottom, turning it to the wrong side. Then, begin picking up stitches from right to left along the cast-on edge.
Make sure to pick up exactly the same number of stitches as you originally cast on.
Step 4: Knitting the Main Section
Reattach your yarn and work two setup rows:
- Row 1: Purl all stitches.
- Row 2: Knit all stitches.
Next, return to the Half Fisherman Stitch pattern:
- Row 1: Knit all stitches.
- Row 2: Purl 1, Knit 1 Below.
Continue until the total piece length is 28 cm. Remember, the cuff’s pattern is intentionally reversed to create a stylish folded look when worn.
Step 5: Binding Off and Seaming
- Bind off the hat by transferring stitches onto a tapestry needle.
- Pull the yarn through each stitch to close the top of the hat.
- Seam the edges of the hat from the top down, ensuring alignment for a seamless finish.
For the cuff, turn it outward and seam along the wrong side of the pattern.
Final Touches
Once seamed, secure the yarn tails tightly for durability. If desired, add a pom-pom or a stylish label for a polished look.
Wrapping Up
Congratulations, your Cuff Beanie Hat is complete! 🎉 It’s ready to keep you cozy and stylish.
If you enjoyed this tutorial, please like, comment, and subscribe for more knitting tips and projects. I’d love to hear your thoughts or answer any questions, so feel free to share them in the comments below.
Thanks for watching, and happy knitting! 🧶



Leave a Reply