


Welcome to Watch Knitting!
In today’s tutorial, I’ll guide you through creating a beautiful and versatile stitch. This stitch is very similar to the fisherman stitch and works wonderfully for a variety of knitting projects.
If you’re following my neck warmer tutorial, this is the stitch you’ll need to complete the project. Be sure to check out that video—I’ve linked it in the description below.
Materials You’ll Need
For this tutorial, I’m using:
- Bulky yarn
- US size 9 needles (5.5 mm)
While the yarn label recommends US size 10 needles, I find that using slightly smaller needles gives the stitch a cleaner look.
About the Stitch
This pattern is built on a rib base of Knit 2, Purl 1. You’ll need to cast on a multiple of three, plus one to create this stitch. For simplicity, I’ll be casting on 13 stitches for this demonstration.
Edge Stitches
To create clean edges:
- At the start of each row, I will pick up the first stitch without knitting it (except for the very first row, where I will knit the stitch).
- At the end of each row, I will always knit the last stitch.
Setting Up the Base Rows
We’ll begin with three rows to set up the base before transitioning to the main pattern.
- Base Row: Repeat the rib pattern: Knit 2, Purl 1, across the row. End with a knit edge stitch.
- Row 1: Start by picking up the edge stitch. Then repeat: Purl 2, Knit 1 below.
- Knit 1 below: Instead of knitting directly into the stitch, grab the yarn from the lower leg of the knit stitch in the row below. Place it on the left needle and knit through the back loop to maintain the pattern’s structure. Transfer the original knit stitch to the right needle without knitting it. Repeat across the row and finish with the edge stitch.
- Row 2 (Return Row): Start by picking up the edge stitch. Knit the next two stitches. When you encounter the knit stitch and its transferred original stitch, purl them together. Ensure the yarn is underneath the needle, not over it. Repeat: Knit 2, Purl 2 together, across the row.
The Main Pattern
With the base complete, we’ll continue repeating Rows 1 and 2 with a slight adjustment:
- Row 3: Start as usual by picking up the edge stitch. Repeat: Purl 2. This time, instead of grabbing the lower leg of the knit stitch, grab the yarn beneath the lower leg. Place it on the left needle and knit through the back loop. Transfer the original knit stitch and continue the pattern.
- Row 4 (Return Row): Repeat Row 2—Knit 2, Purl 2 together.
Tips and Notes
At first, the pattern might not be obvious, but as you continue knitting, the texture will start to emerge beautifully. I’ll take a quick break to work on a few additional rows off-camera.
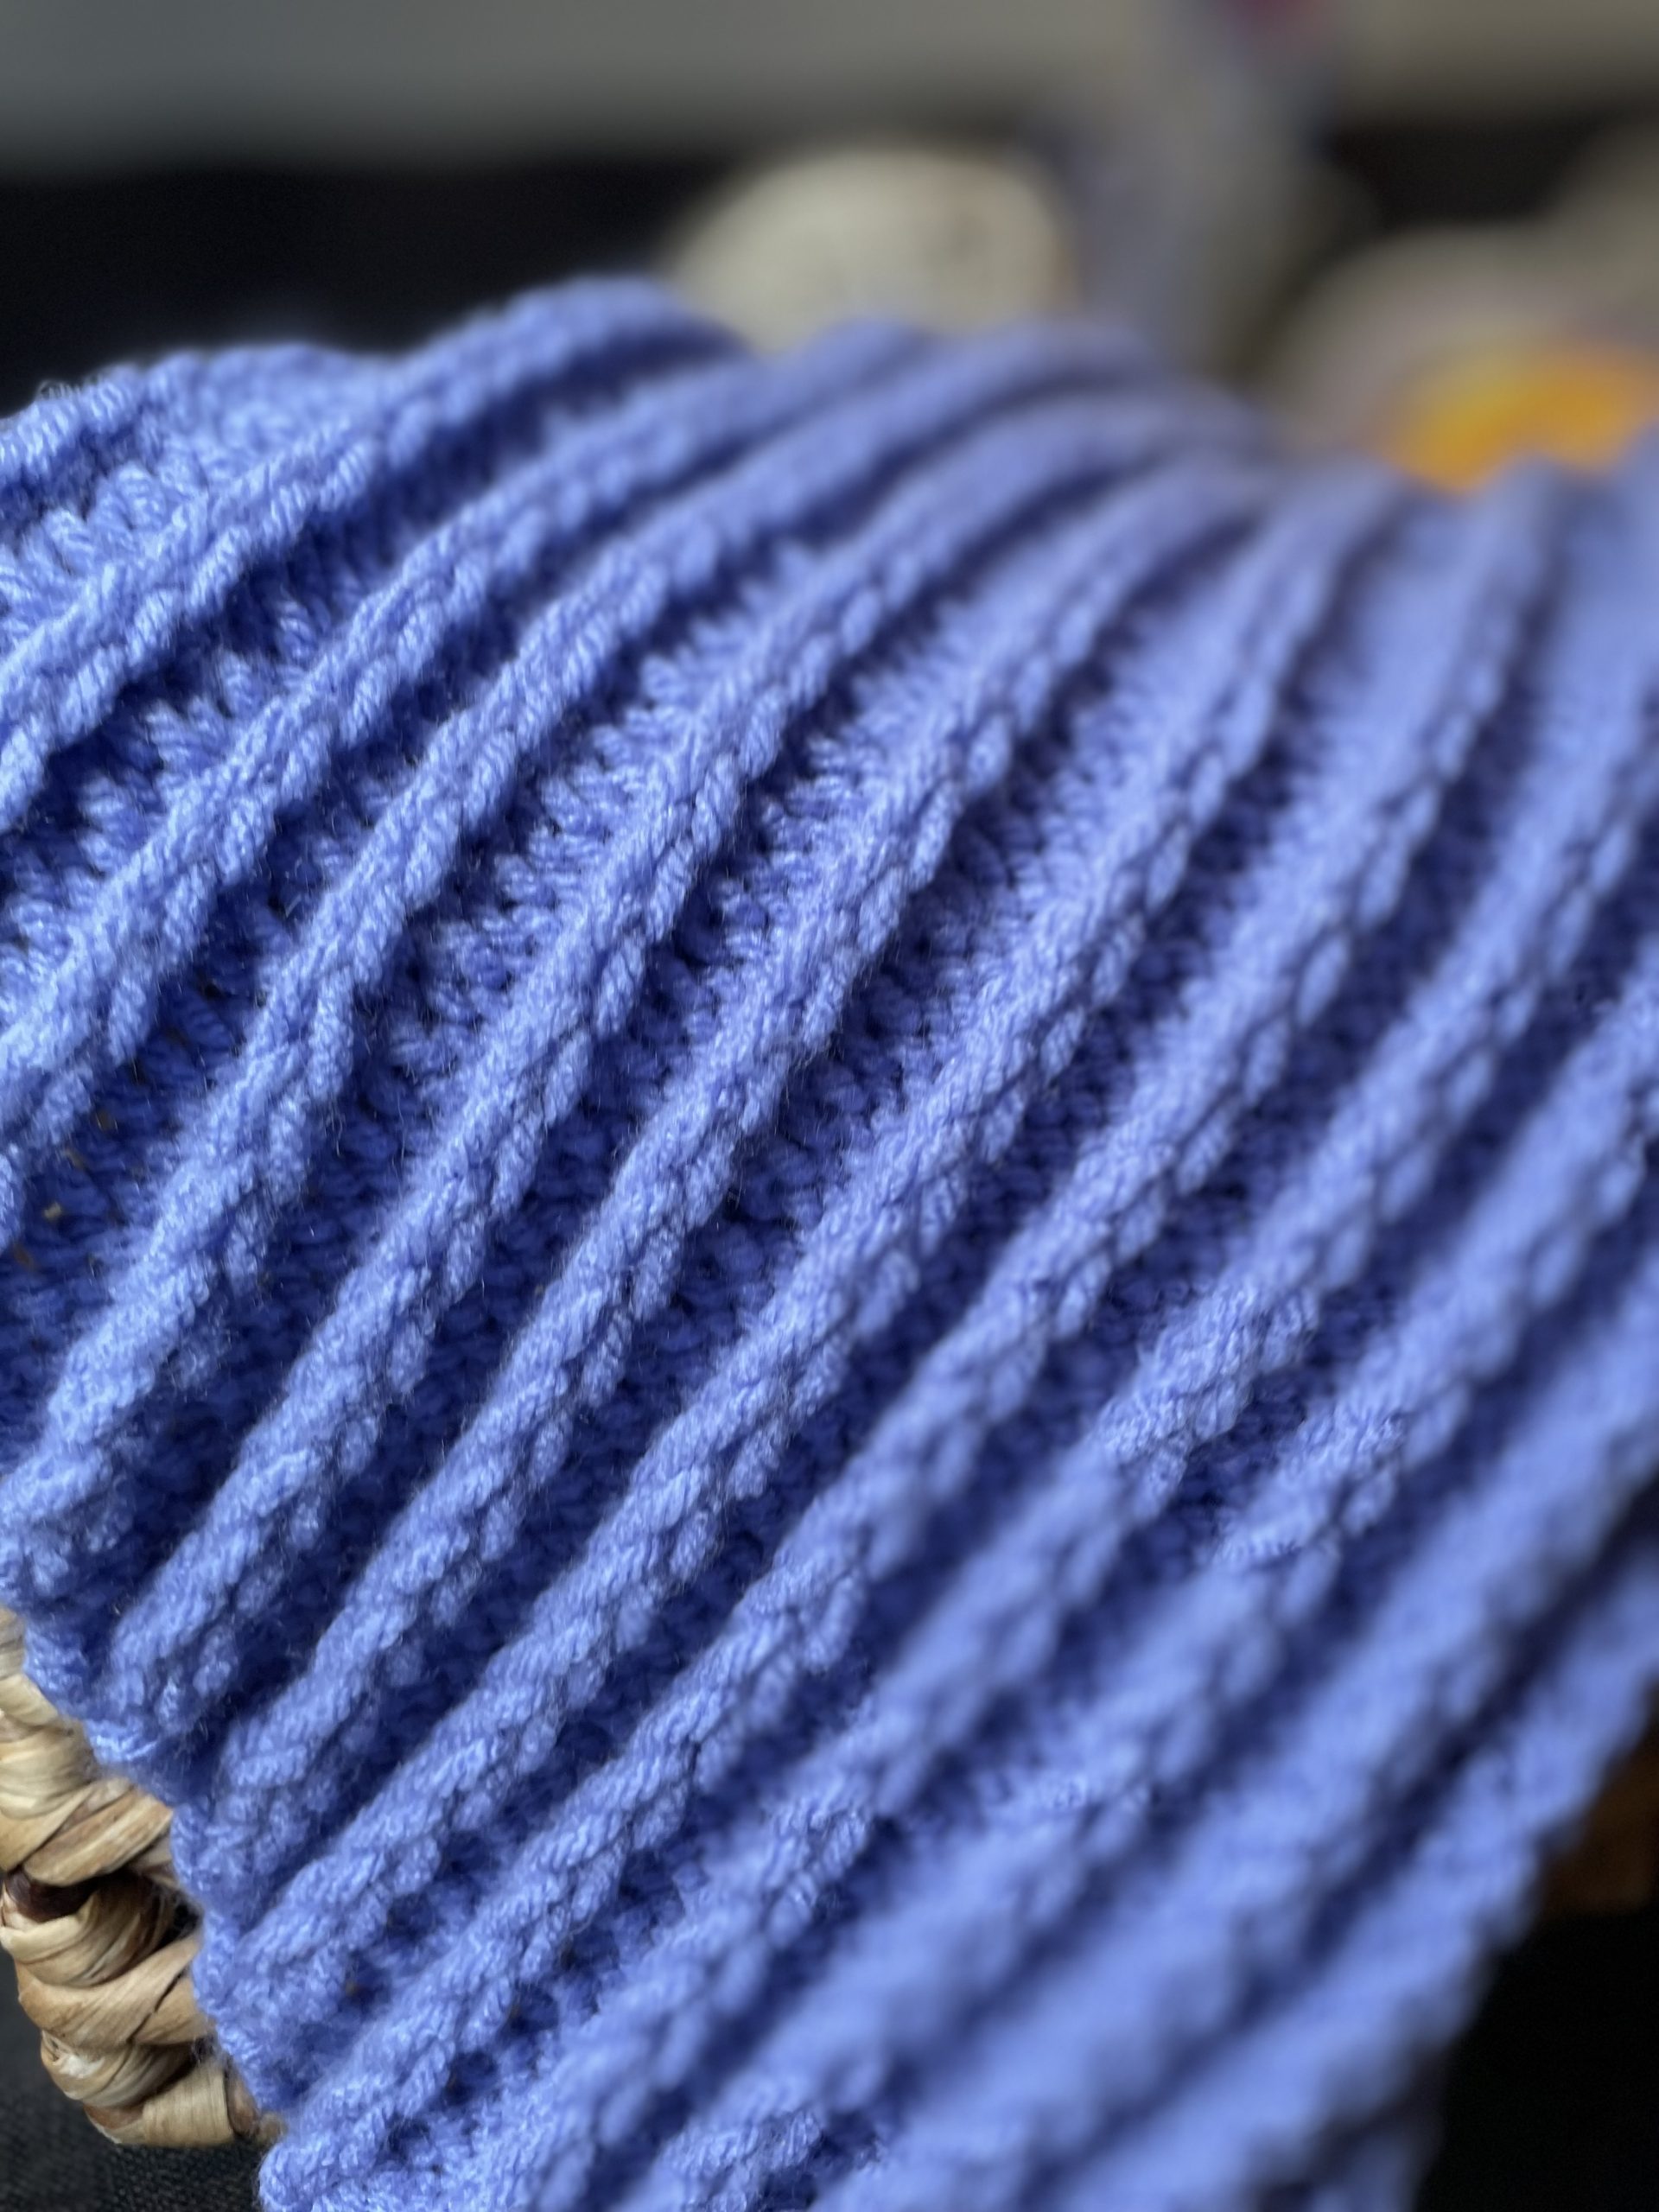
Here’s the result after a couple more rows—you can now see the pattern clearly. The texture is rich, structured, and incredibly satisfying to knit!
Quick Pattern Recap
Set-Up Rows:
- Base Row: Knit 2, Purl 1
- Row 1: Purl 2, Knit 1 below
- Row 2: Knit 2, Purl 2 together
Main Pattern:
- Repeat Rows 3 and 4:
- Row 3: Purl 2, Knit the yarn beneath the lower leg through the back loop
- Row 4: Knit 2, Purl 2 together
If you enjoyed this tutorial, don’t forget to like, comment, and subscribe for more knitting tips and project ideas. Have questions or suggestions? Feel free to share them in the comments below—I’d love to hear from you!
Thanks so much for watching, and happy knitting!


Leave a Reply