My name is Fariba. Knitting is my passion since I was a little kid.

  • Tutorial 1 – how to cast on
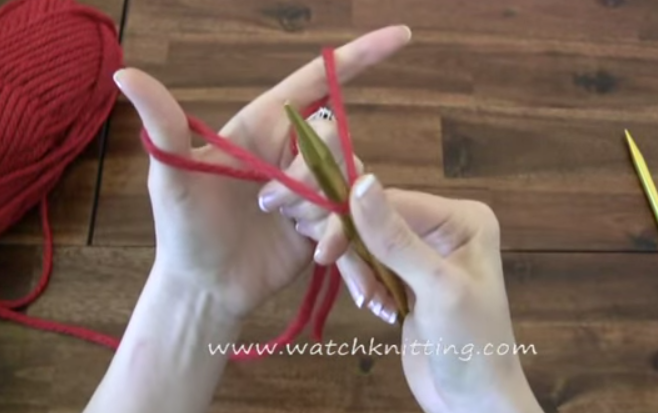
    The first step of knitting is casting on. Casting on means making the base row of loops that will allow us to make a knit fabric by connecting new loops in following rows. The number of loops that you need to cast on depends on the project you wanna work on and also on your yarn size.  As you… Read more: Tutorial 1 – how to cast on
  • Stockinette stitch
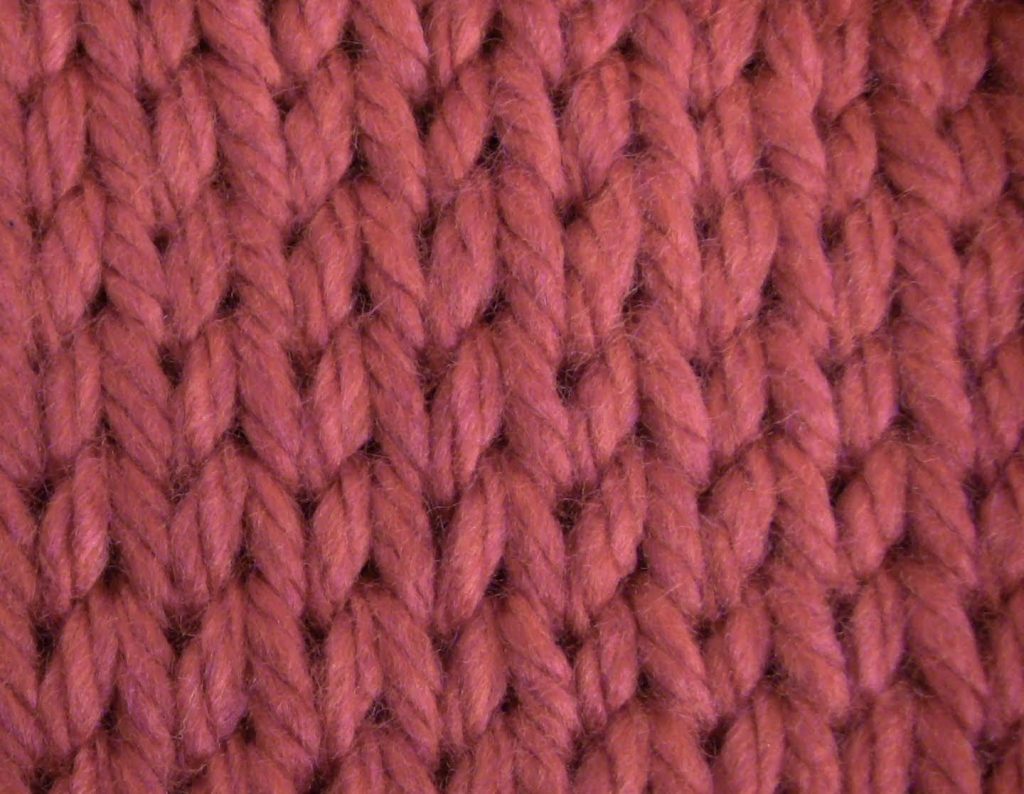
    The very simple fabric that is made of basic knit and purl stitches is called stockinette stitch. It means after you cast on number of stitches, you knit the first row with Knit stitch and knit the second row (return row) with Purl stitch. You repeat to do Knit stitch for all odd rows, like row… Read more: Stockinette stitch
  • Stitch 1- Basic Rib Stitch
    Made in a multiple of 2 stitches, and 2 row repeat. Row 1) Rep (k1, p1) Row 2) Rep (p1, k1) Here is the short grid to help you with it:              

How to Seamlessly Hide Knots in Your Knitted Patterns


Let’s see how we can fix the knots at the back of your knitted pattern, especially when adding another yarn.

While knitting, I made a knot to continue my pattern, but now it’s time to address it. Here’s how you can remove the knot and hide it seamlessly:

  1. Gently remove the knot and use a needle to weave the loose ends into the surrounding stitches.
  2. Follow the direction of the stitches as you work. You can weave both strands at once, but I prefer doing them one at a time for a cleaner and neater finish.
  3. Once you’ve worked in the first strand, repeat the process with the second strand, carefully passing it through the stitches.
  4. After both strands are secured and hidden, trim the excess yarn.

The result is a smooth, tidy back without any visible knots, leaving your pattern looking professional and polished.

Thank you for watching!


Comments

Leave a Reply

Your email address will not be published. Required fields are marked *

Free knitting tutorials