
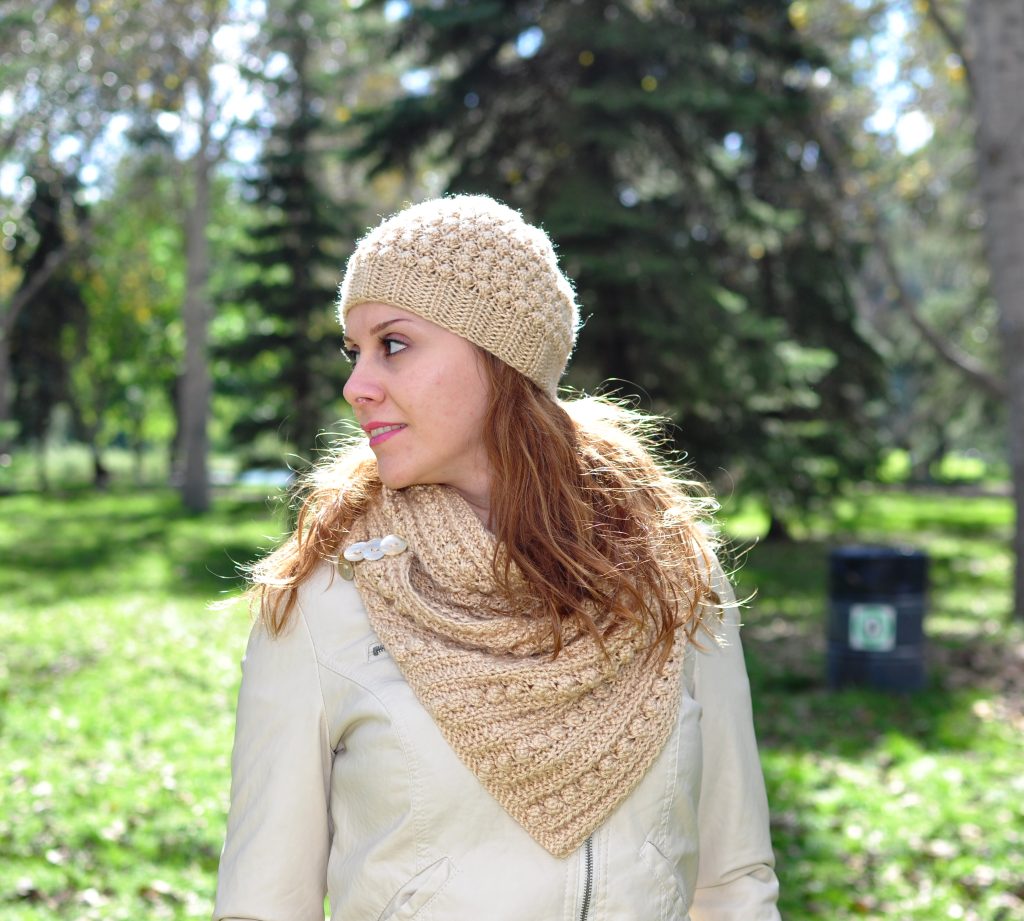
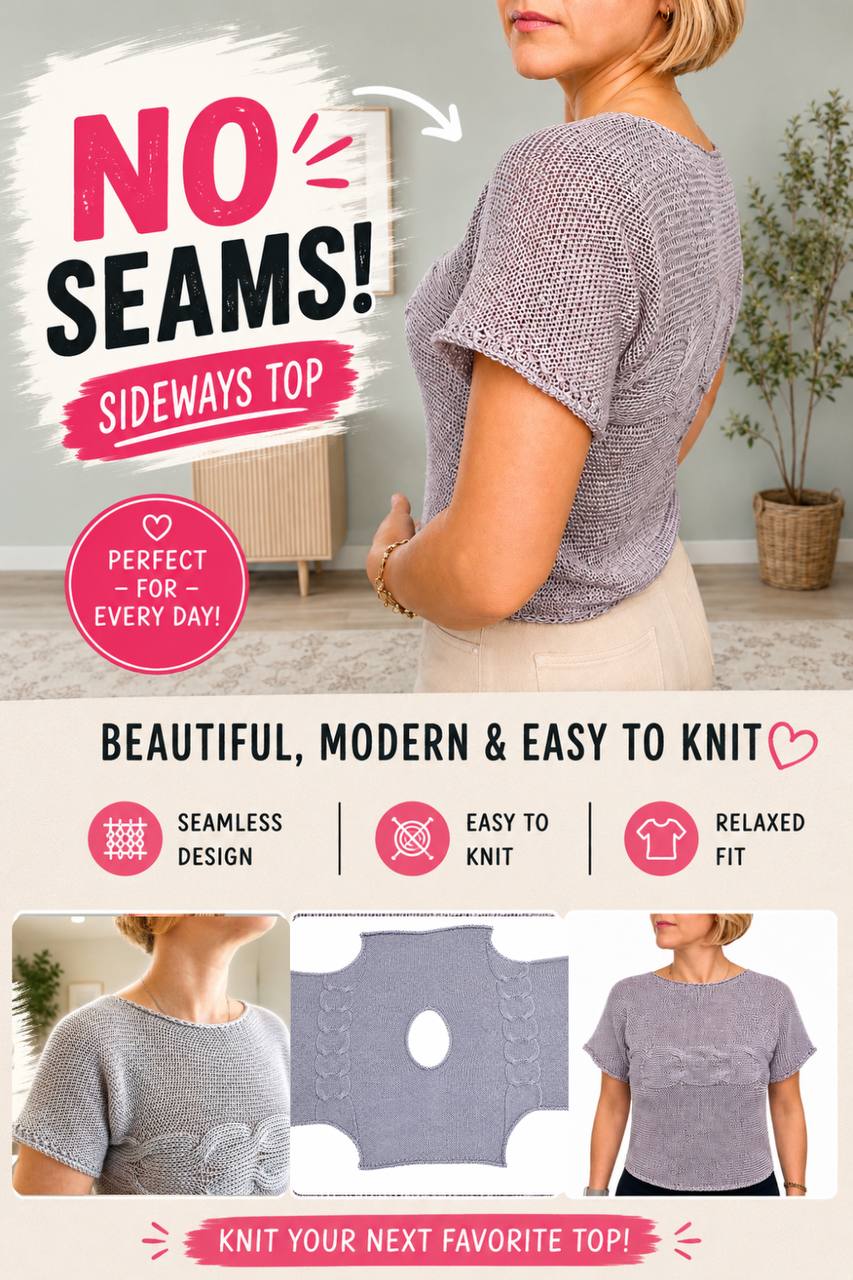
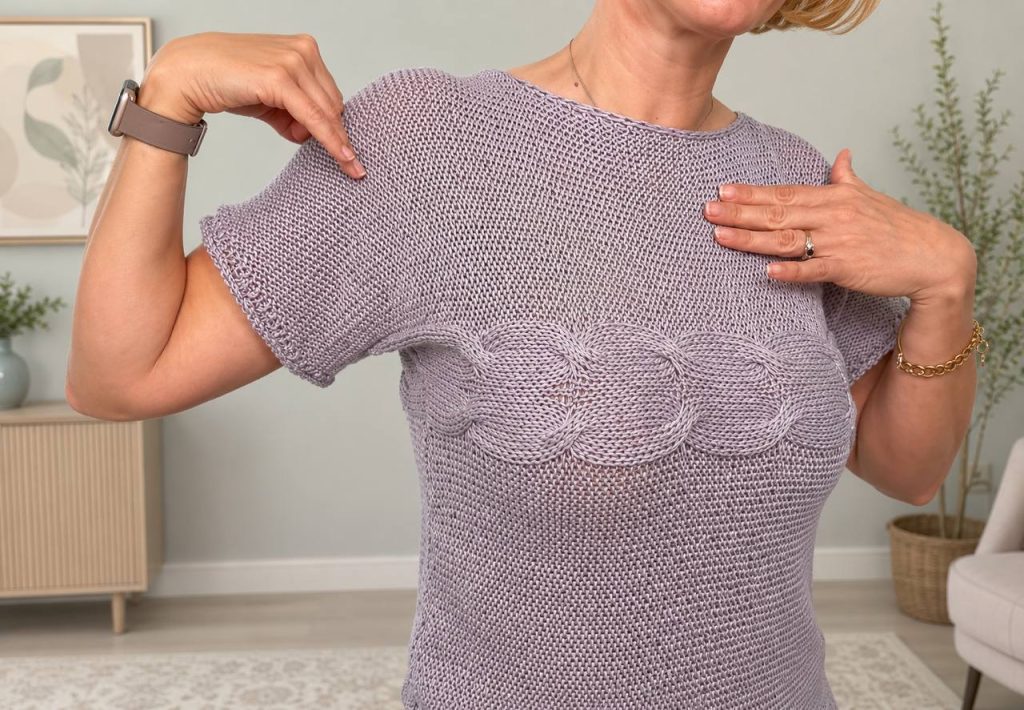
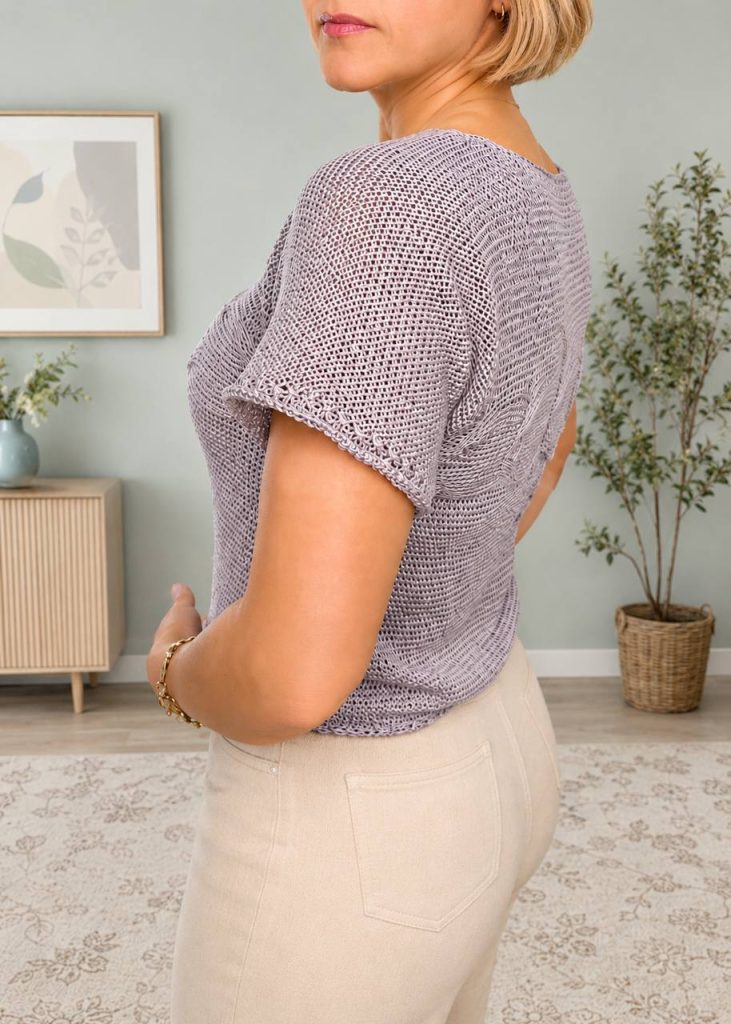
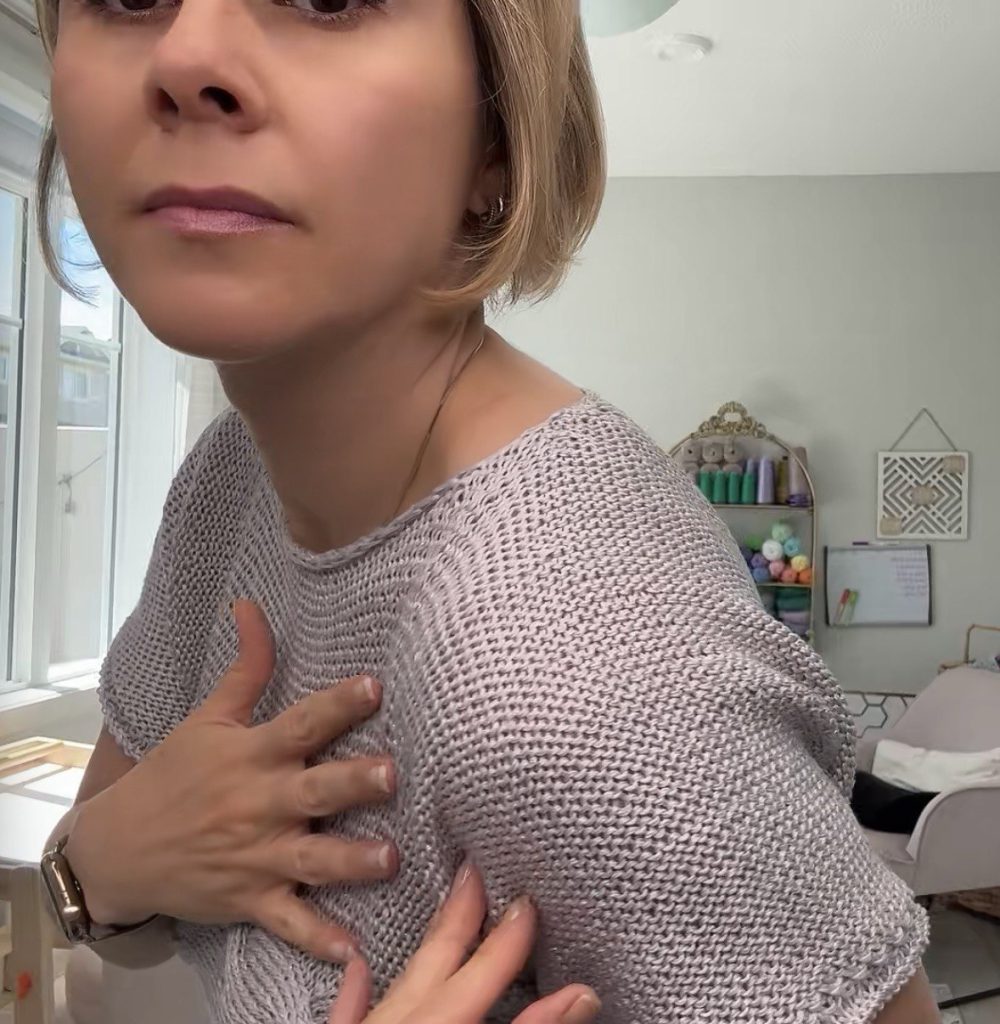
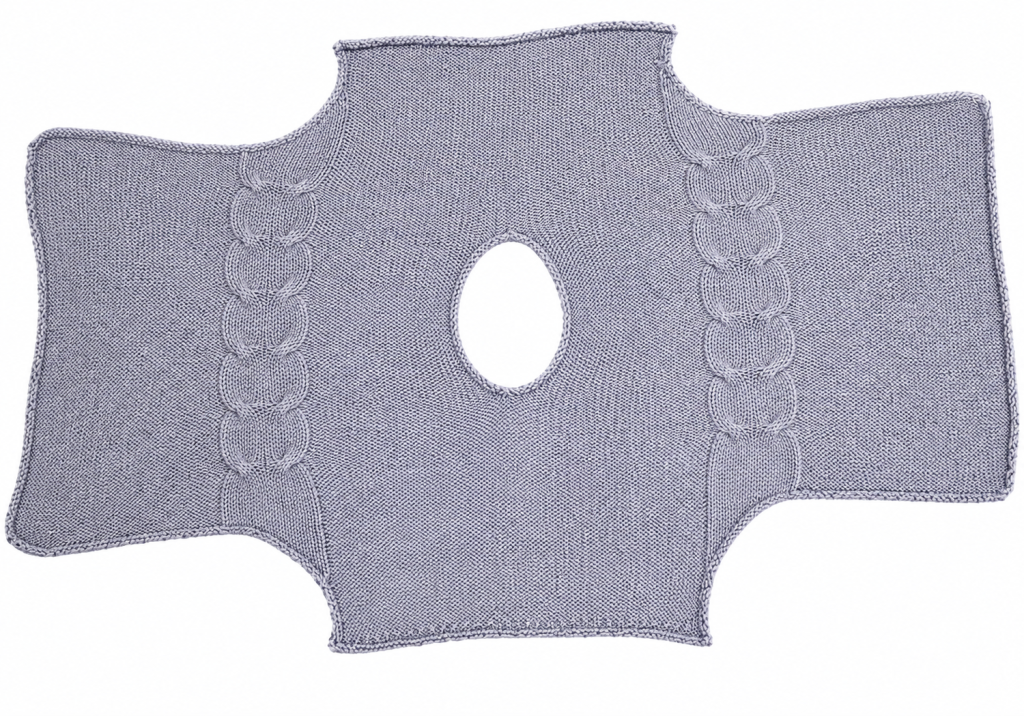
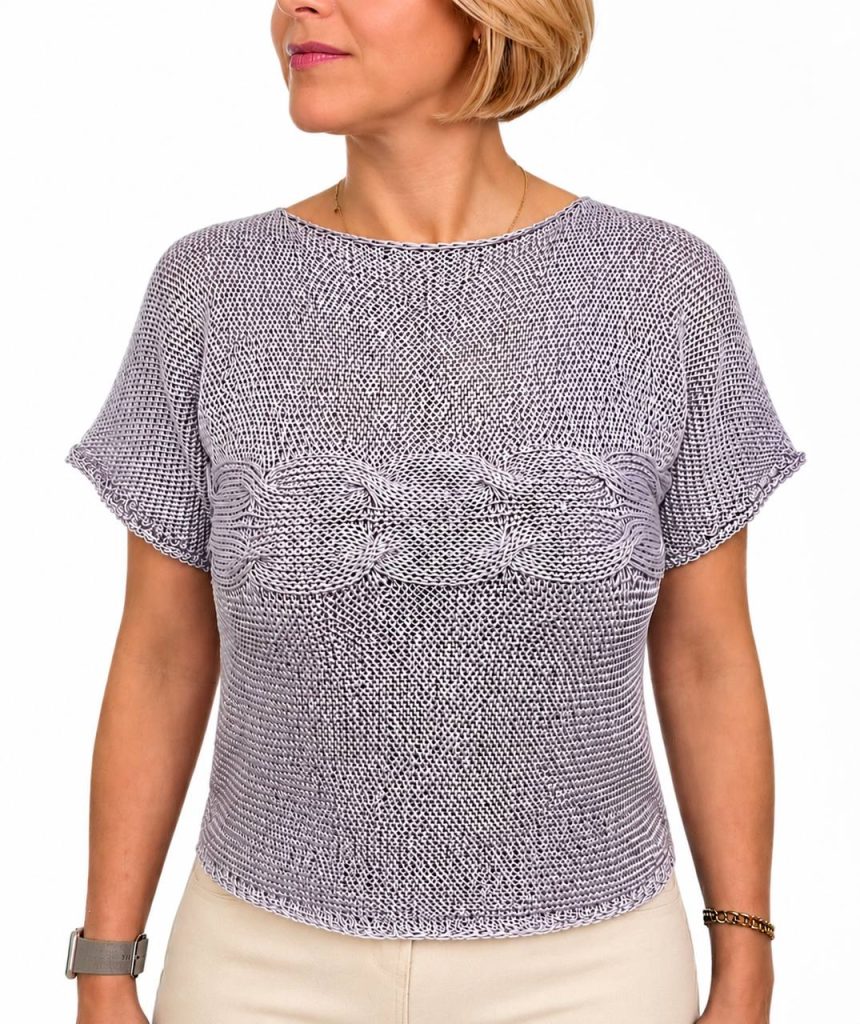
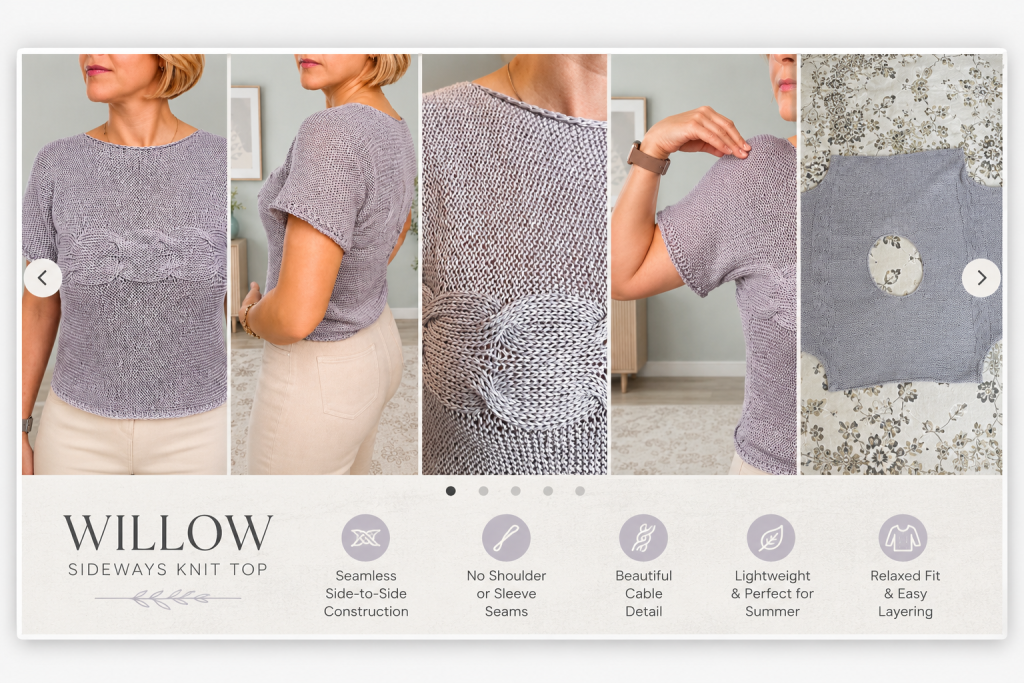
The Willow Sideways Top is a seamless side-to-side knit top featuring elegant horseshoe cable panels and a relaxed, comfortable fit. Worked in one piece from sleeve to sleeve, the design eliminates both shoulder and sleeve seams for a clean, polished finish.
Perfect for warm weather, layering, and everyday wear, this pattern combines simple construction with beautiful cable details.
Pattern Features
- Seamless side-to-side construction
- Worked in one piece from sleeve to sleeve
- No shoulder or sleeve seams
- Decorative horseshoe cable panels
- Rolled sleeve edges
- Relaxed neckline
- Adjustable body length
- Sizes XS (S, M, L)
Finished Measurements
| Size | Bust |
|---|---|
| XS | 80 cm (31.5″) |
| S | 89 cm (35″) |
| M | 98 cm (38.5″) |
| L | 107 cm (42″) |
Choose your size based on your preferred fit and compare the finished measurements to a garment you already own.
Materials
- Fine bamboo-linen blend yarn held double
- Sparkly sequin yarn held throughout
- 4.5 mm (US 7) circular needle with 100 cm (40″) cable
- Crochet hook
- Tapestry needle
- Stitch markers
Gauge
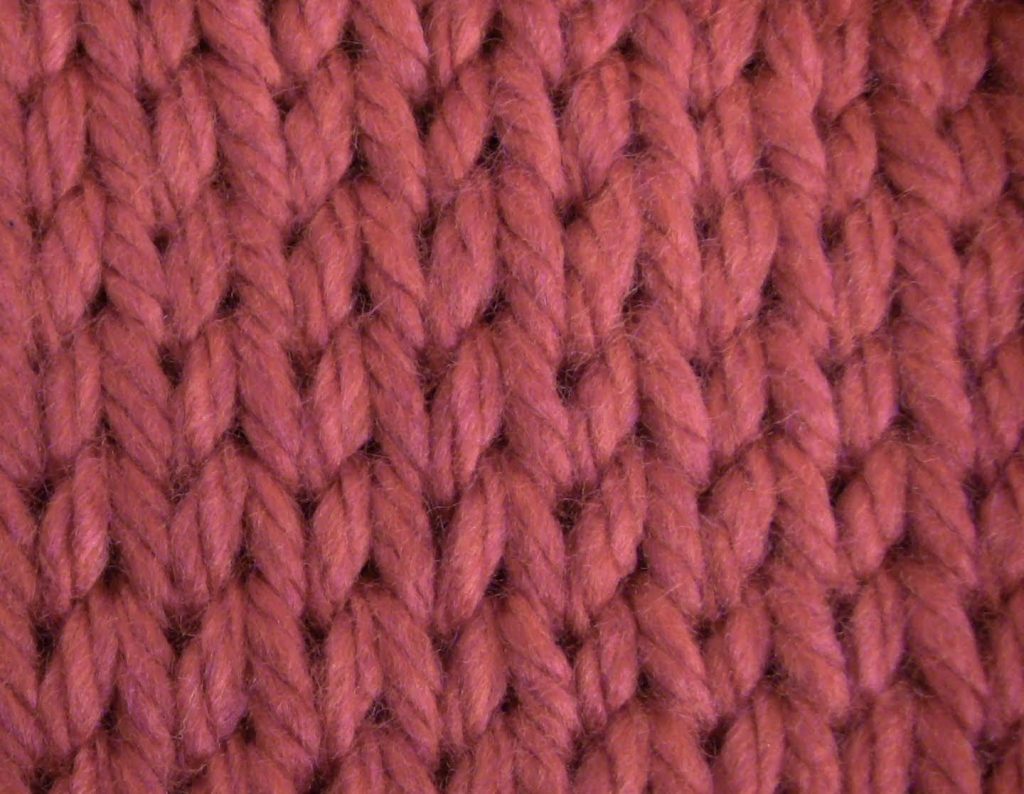
18 stitches = 10 cm (4″) in Stockinette Stitch
Construction
The top is worked sideways from sleeve to sleeve. Front and back neckline shaping are worked separately and later joined. The side seams are finished using mattress stitch for a neat and professional finish.
Video Tutorial
Watch the full tutorial here:
Get the PDF Pattern
The printable PDF pattern includes:
- Full written instructions
- Multiple sizes (XS–L)
- Stitch counts
- Cable instructions
- Construction details
- Finishing instructions
[SHOP PDF PATTERN ON RAVELRY]
[SHOP PDF PATTERN ON ETSY]
Frequently Asked Questions
Is this pattern suitable for beginners?
This pattern is best suited for intermediate knitters who are comfortable with basic increases, decreases, and cable techniques.
Can I adjust the length?
Yes. The body length can be customized to your preferred fit.
Is the pattern written for multiple sizes?
Yes. Instructions are included for XS, S, M, and L.



Leave a Reply