
My name is Fariba. Knitting is my passion since I was a little kid.

- Tutorial 1 – how to cast on
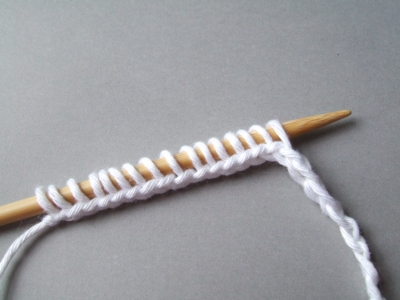
 The first step of knitting is casting on. Casting on means making the base row of loops that will allow us to make a knit fabric by connecting new loops in following rows. The number of loops that you need to cast on depends on the project you wanna work on and also on your yarn size. As you… Read more: Tutorial 1 – how to cast on
 - Stockinette stitch
 The very simple fabric that is made of basic knit and purl stitches is called stockinette stitch. It means after you cast on number of stitches, you knit the first row with Knit stitch and knit the second row (return row) with Purl stitch. You repeat to do Knit stitch for all odd rows, like row… Read more: Stockinette stitch
 - Stitch 1- Basic Rib Stitch
 Made in a multiple of 2 stitches, and 2 row repeat. Row 1) Rep (k1, p1) Row 2) Rep (p1, k1) Here is the short grid to help you with it:
-
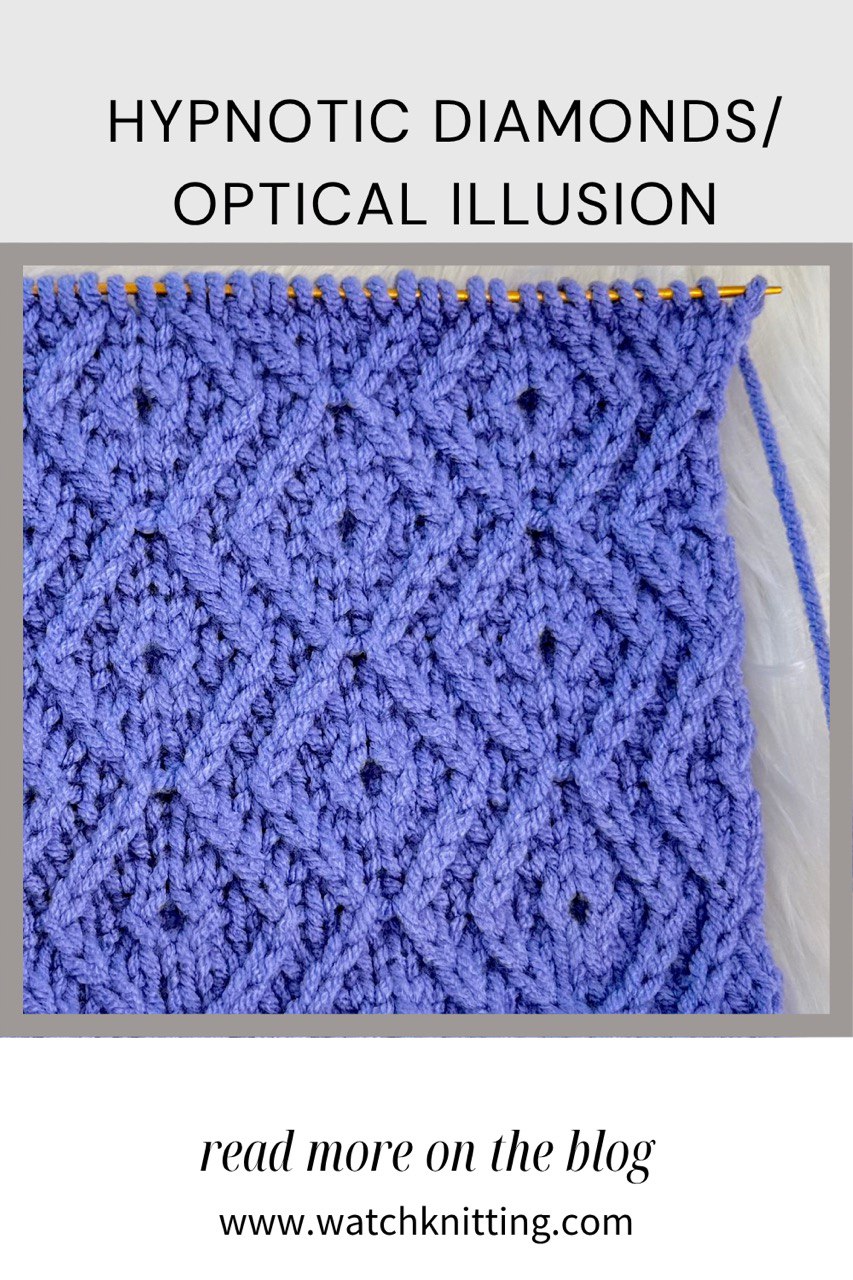
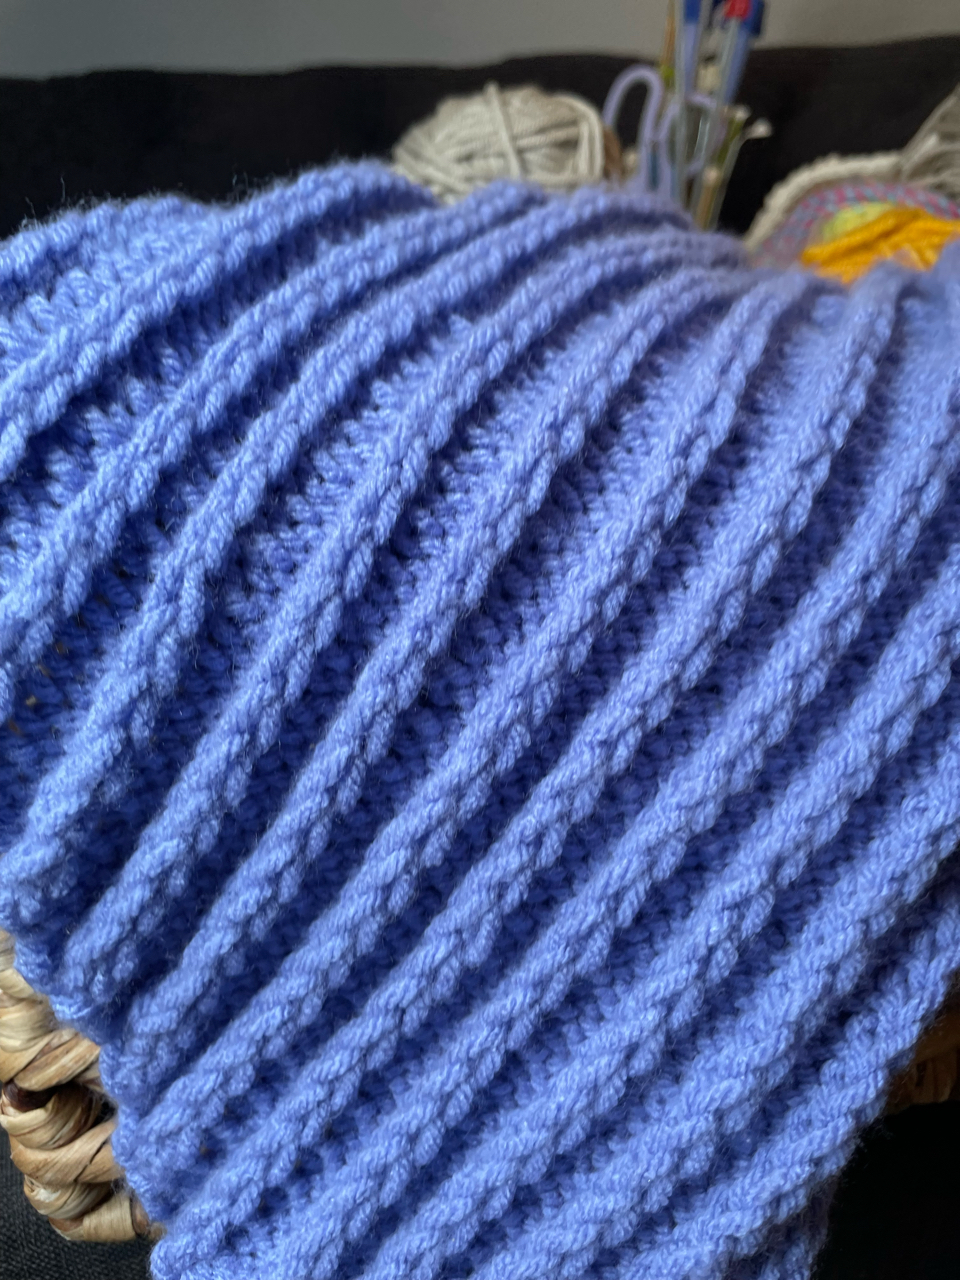
Hypnotic Diamonds Knitting Tutorial | Optical Illusion Diamond Stitch Pattern (Opt Art)
Welcome to WatchKnitting! I’m Fariba, and in today’s tutorial, I’ll guide you step-by-step through creating the Hypnotic Diamonds pattern — a striking optical illusion stitch that mimics the look of mirrored diamonds and shifting lines. 🔹 Pattern InstructionThis stitch pattern is worked over a multiple of 16 stitches + 2, with a 16-row repeat. All…
-
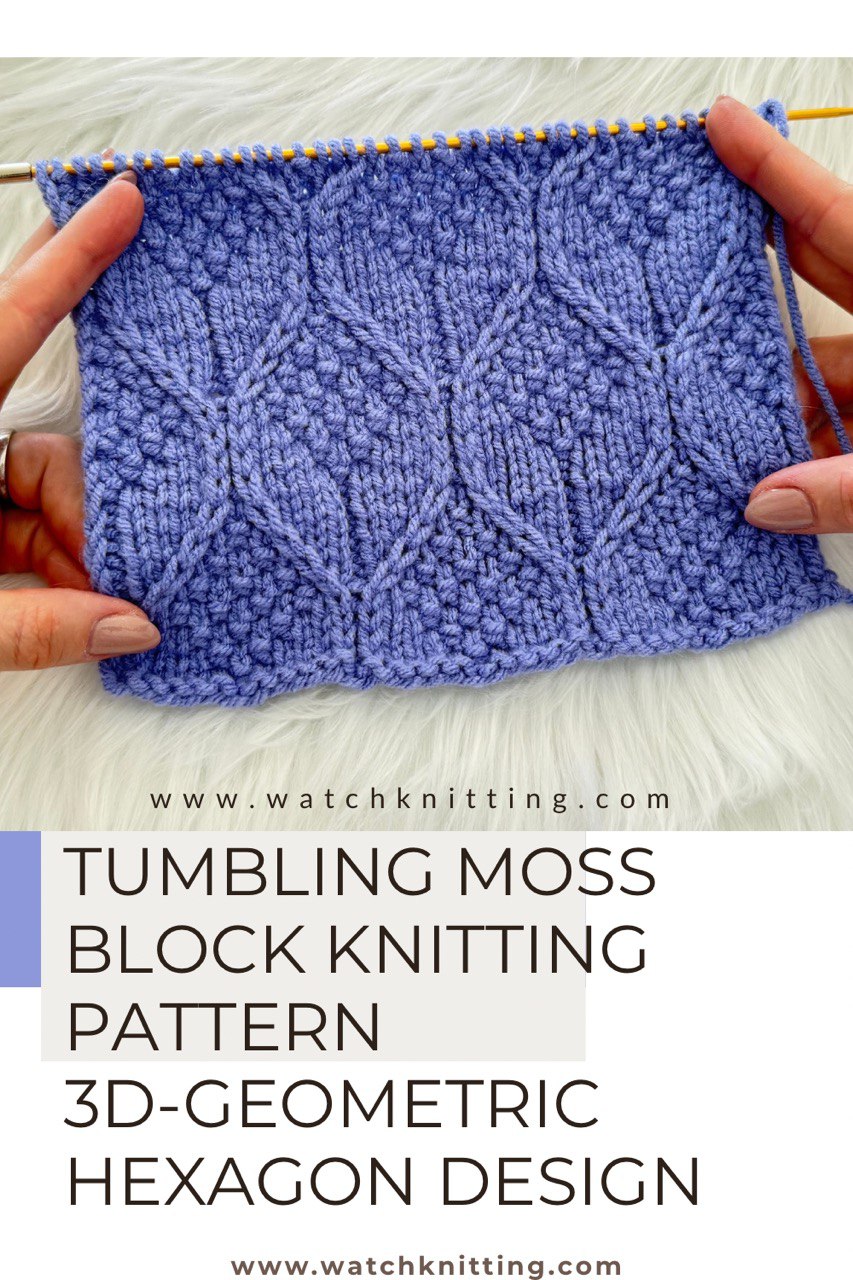
3D Tumbling Moss Block Pattern – Knitting Tutorial with Fariba
Welcome back to WatchKnitting! I’m Fariba, and in today’s tutorial, I’ll guide you through knitting a stunning 3D geometric stitch pattern that I designed myself. This textured motif creates a bold, hexagonal structure that appears to shift and tumble — a perfect visual illusion crafted entirely with stitches! 🧶 Pattern Details ✨ Pro tip: Using…
-
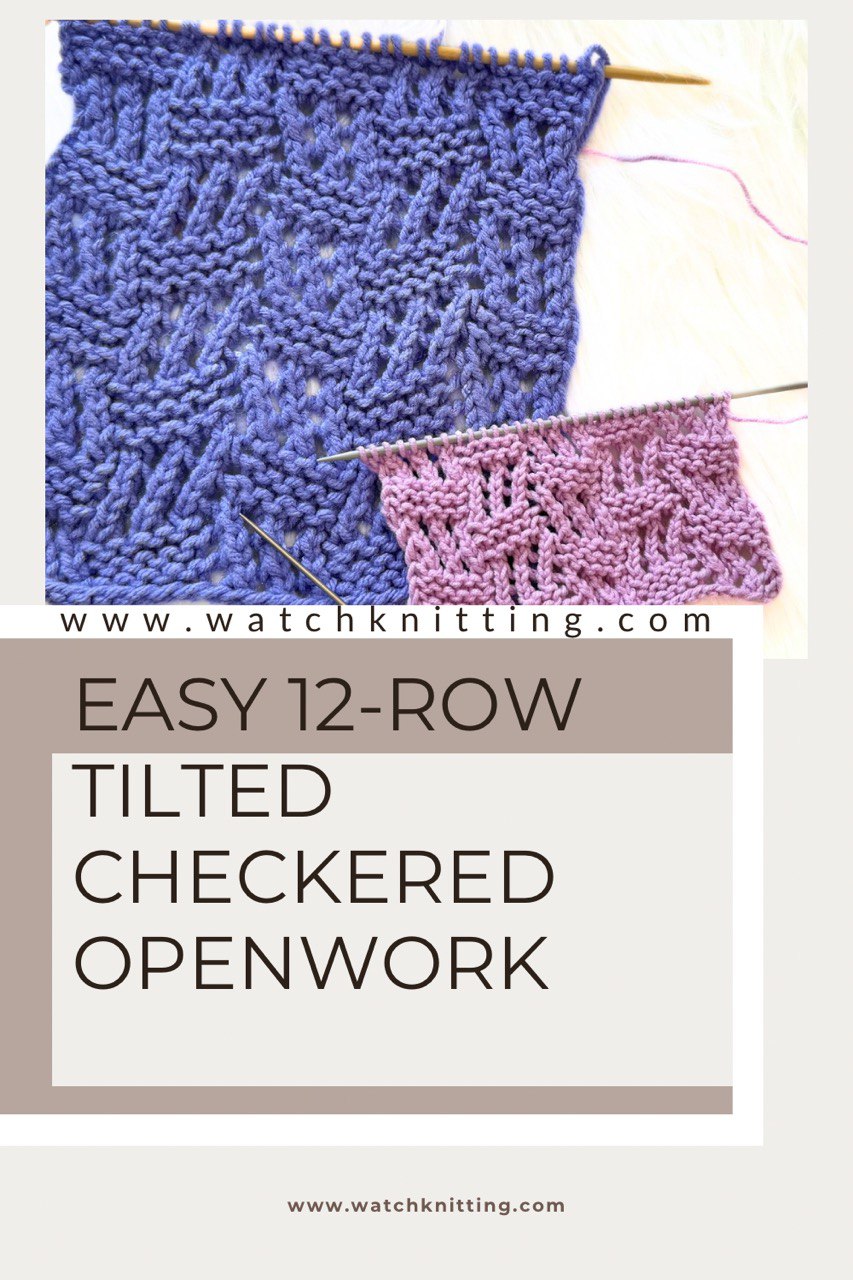
EASY Elegant Lace Pattern – 12-Row Repeat | TILTED CHECKERED OPEN WORK
Hi everyone, welcome back to my channel! I’m Fariba from WatchKnitting, and today I’m sharing a super easy and elegant lace pattern that’s perfect for beginners and experienced knitters alike. This pattern is worked over a multiple of 11 stitches plus 8 (including the edge stitches) and follows a 12-row repeat. All the wrong-side rows…
-
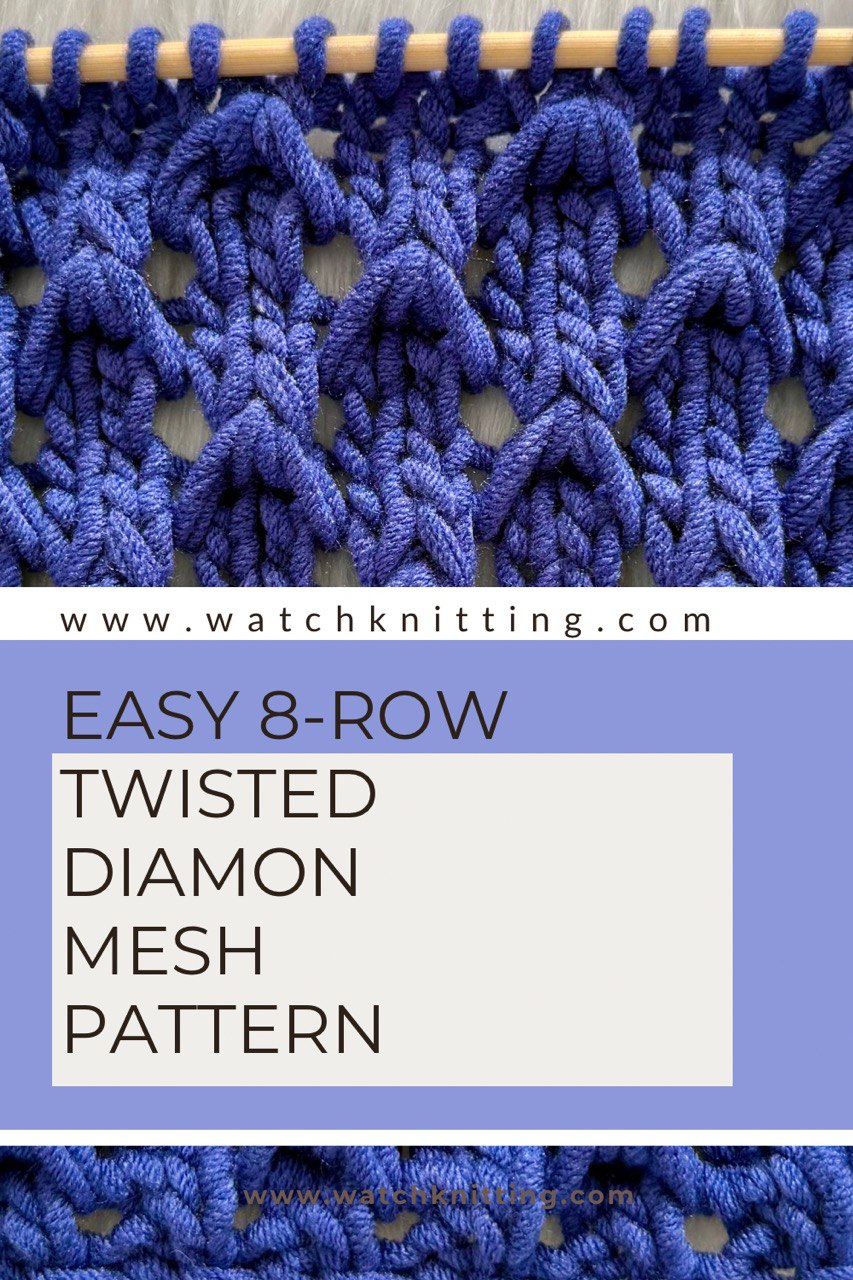
Easy 8-row Repeat Twisted Diamond Mesh Knitting Pattern | Step-by-Step Tutorial for Beginners
Welcome back, friends! After sharing a few intricate stitch designs, I decided it was time for something much simpler—but just as stunning. The Twisted Diamond Mesh is an easy textured pattern perfect for knitters of all levels. It creates a unique diamond-like structure using basic techniques, and the result is absolutely beautiful. Whether you’re knitting…
-
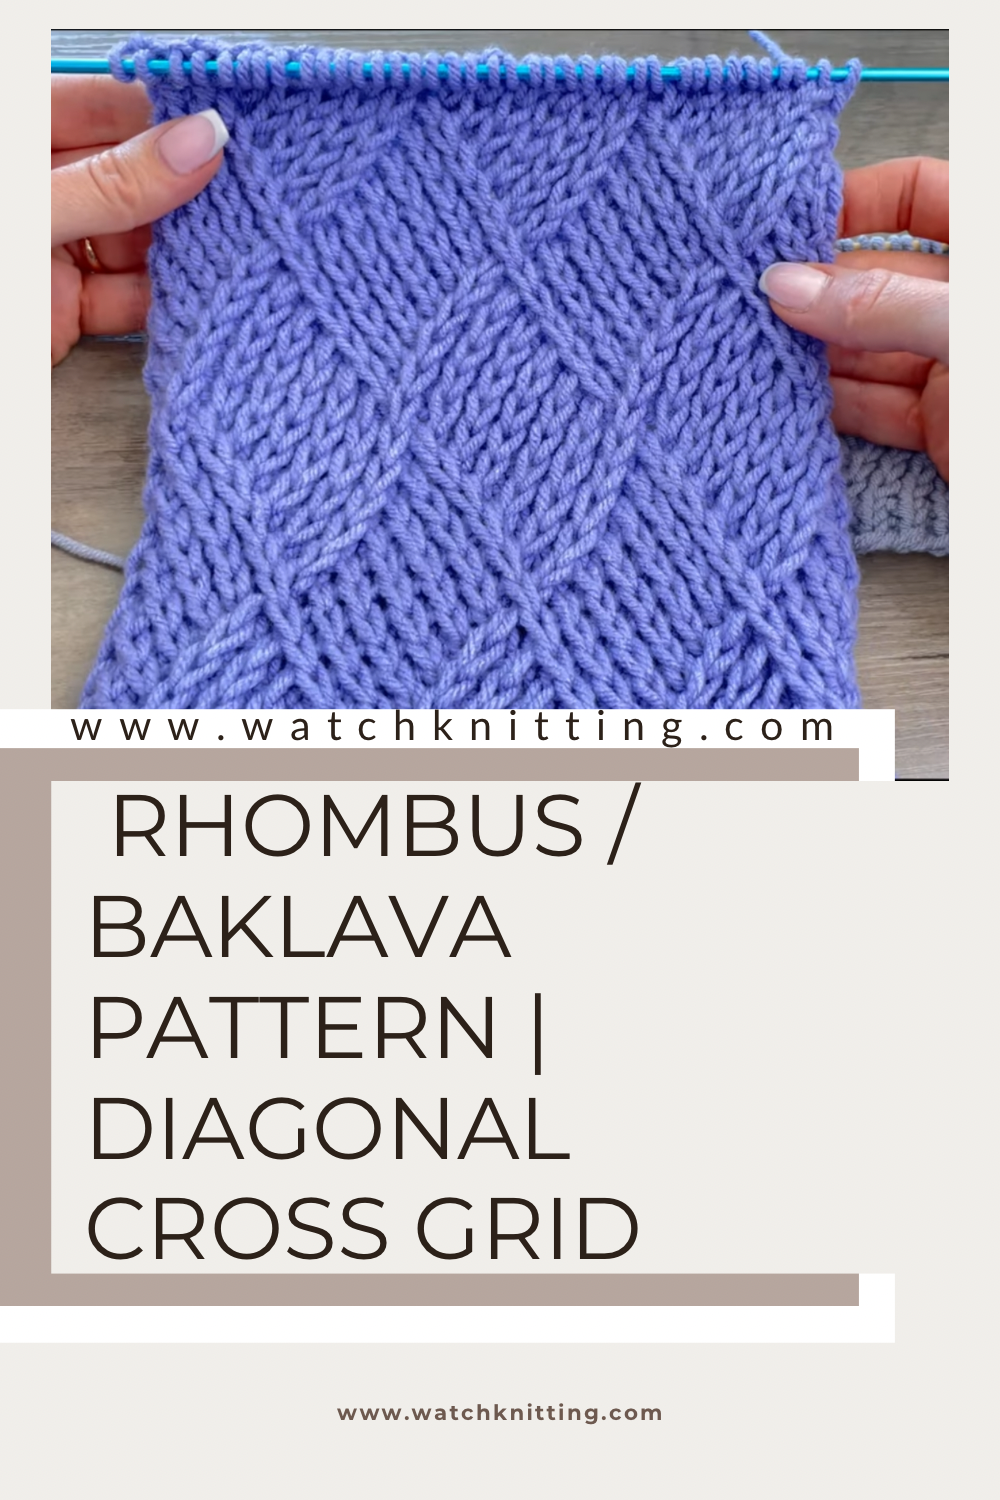
Baklava Pattern | The Magical Rhombus Stitch or Diagonal Cross Line Grid Pattern
✨ Hey knitters! Fariba here from WatchKnitting 🧶Today we’re diving into the magical rhombus stitch, also known as the diagonal cross line grid pattern! It’s worked over a multiple of 12 + 2 stitches and follows a 24-row repeat—half of which are simple purl return rows. This stunning texture uses Cross 2 Right and Cross…
-
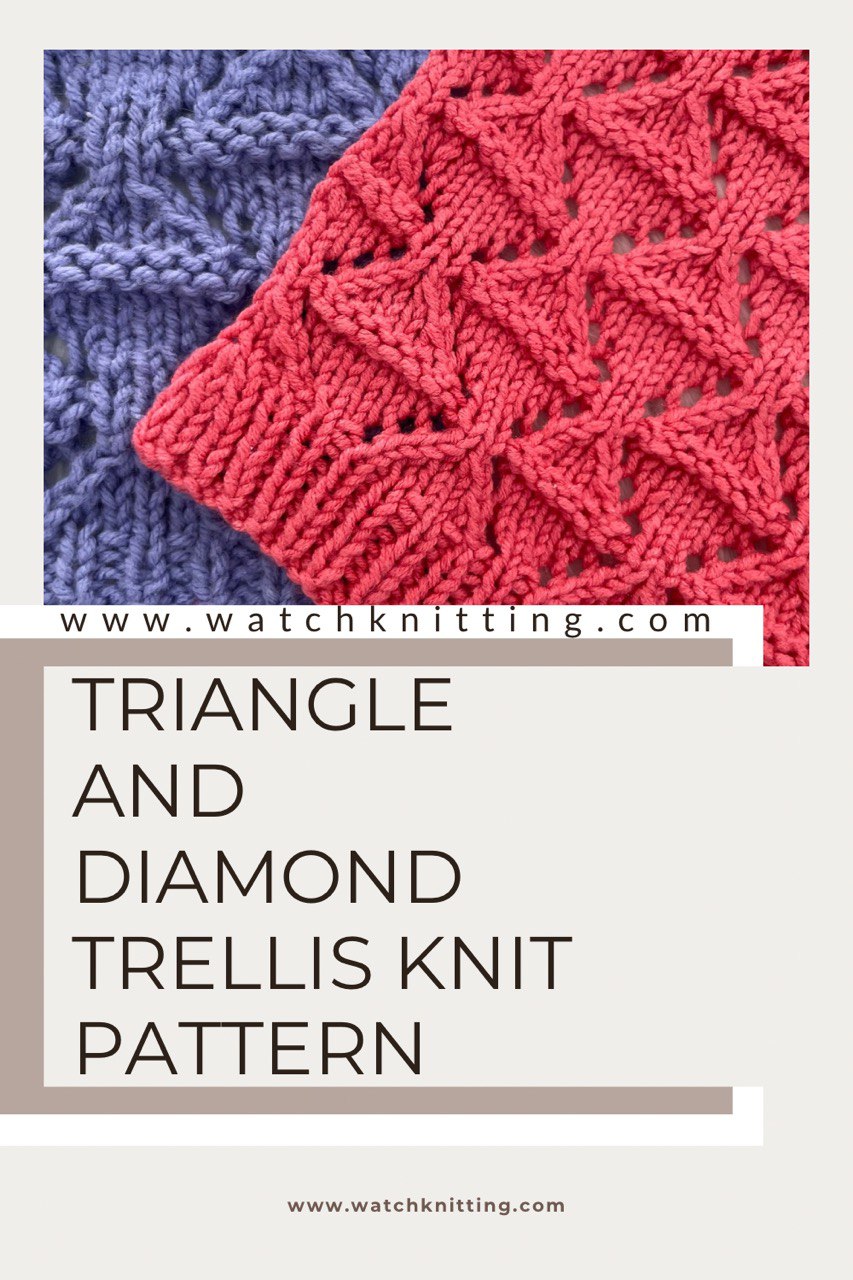
Beginner Textured Triangle and Diamond Trellis Knit Stitch Pattern – Ideal for Men’s Sweaters
Hey friends! Fariba here from WatchKnitting! Today, I’m excited to share a stunning textured pattern with you. It’s created using simple knit, purl, increase, and decrease stitches. This textured diamond pattern is a great choice for men’s sweaters—it adds bold structure without being too ornate. The clean geometric lines give it a modern, masculine feel…
-
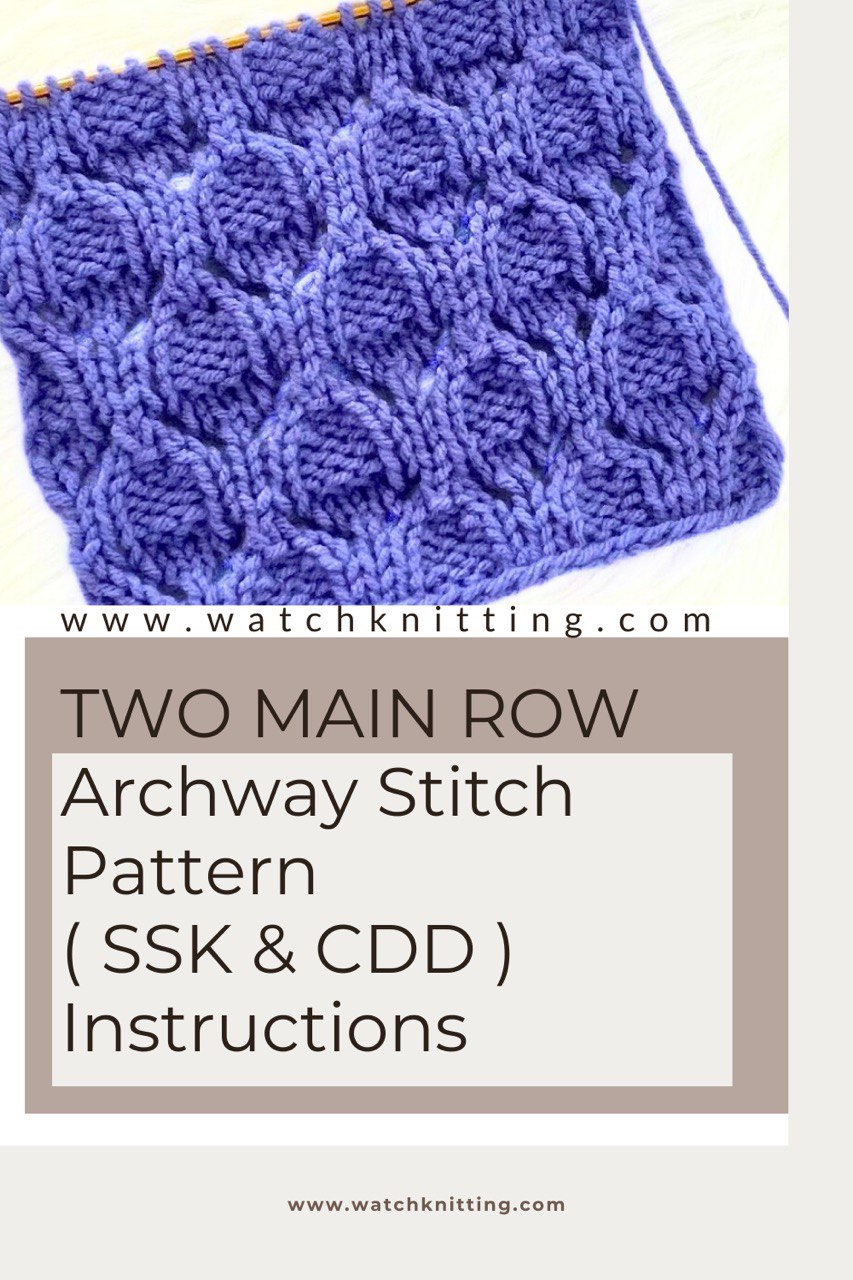
Archway Stitch Knitting Pattern – SSK & CDD Instruction for Beginners | Perfect for Socks & Sweaters
Hey friends! Fariba here from WatchKnitting—I’ve got an exciting textured pattern to share with you today! The Archway Stitch works over a multiple of 6 stitches plus 3, with a 16-row repeat. It’s a beautiful stitch that combines basic knit and purl stitches, yarn overs, and decreases to create a stunning, arch-like texture. This pattern…
-
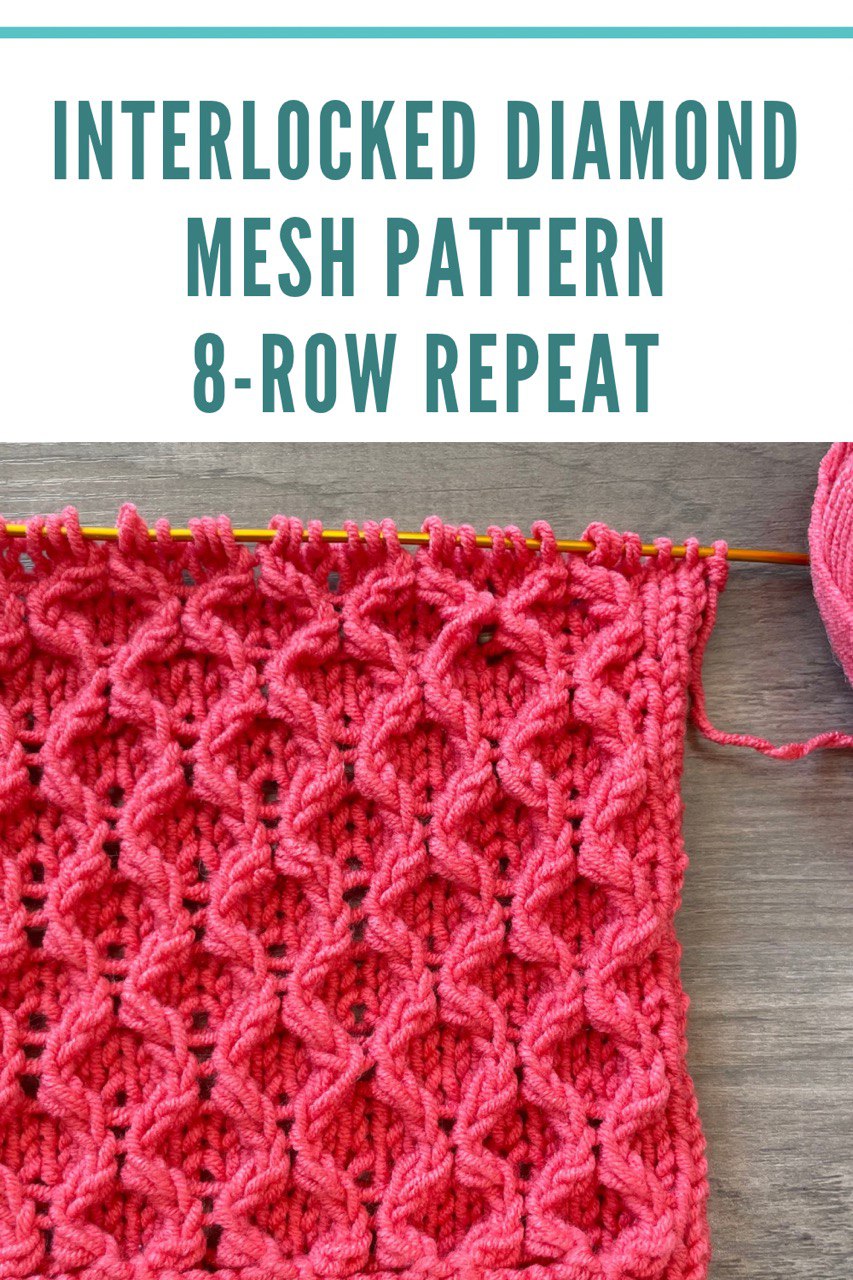
Interlocked Diamond Mesh Knitting Pattern – Textured & Easy 8-Row Repeat
This beautifully textured pattern creates an interlocked diamond mesh, perfect for blankets, sweaters, or even cozy hats. The design is built on a multiple of 6 stitches plus 4, and it follows a simple 8-row repeat. The pattern creates diagonal lines that intersect and build a layered diamond motif. Pattern Details: Abbreviations:K = KnitP =…
-
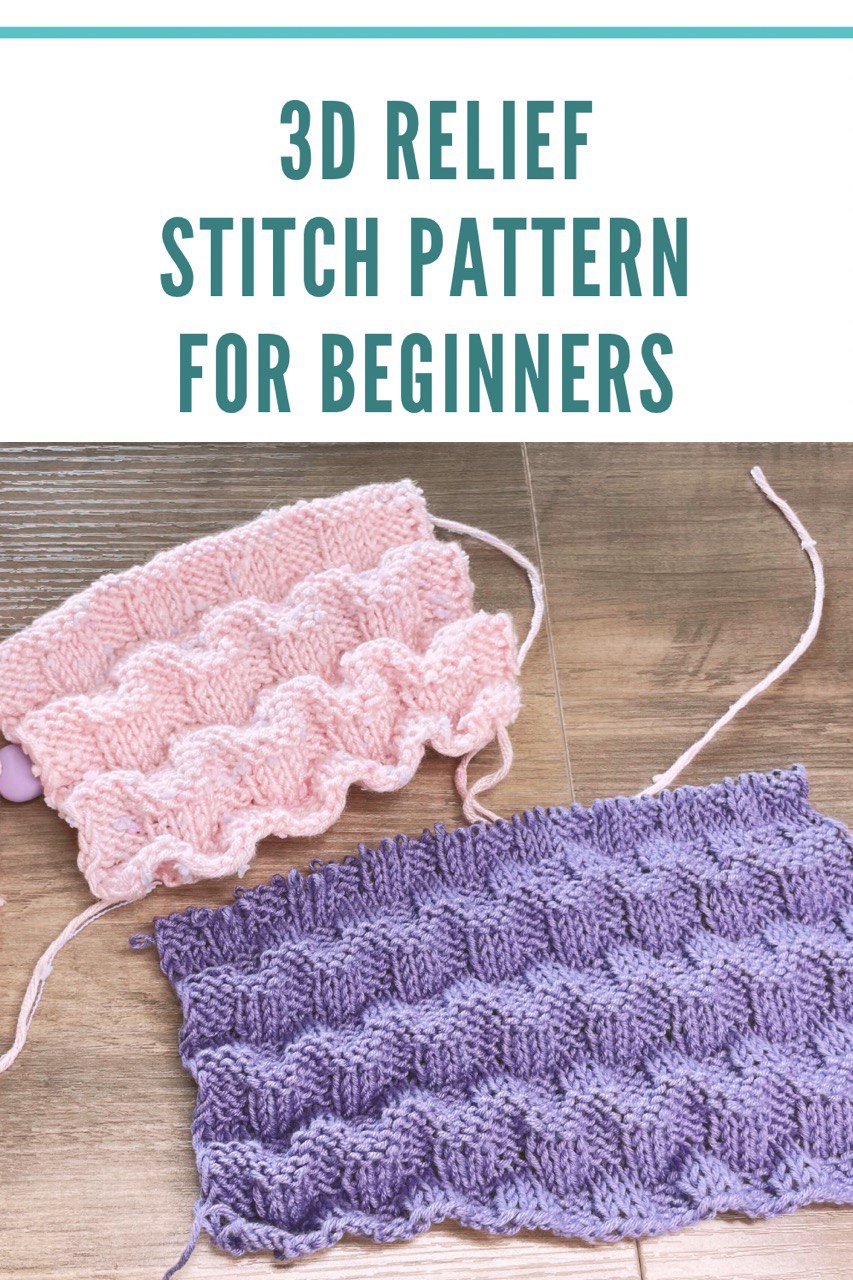
Easy 3D Relief Knitting Pattern for Beginners | Reversible Textured Design
Hello and welcome!Fariba here from WatchKnitting 🧶 Today, I’m sharing a beginner-friendly pattern that’s super easy to knit using only basic stitches. It creates a beautifully textured, reversible fabric—and best of all, it’s fully customizable depending on your yarn and stitch count. ✨ The pattern is made in multiples of 6 + 3 + 2…
-
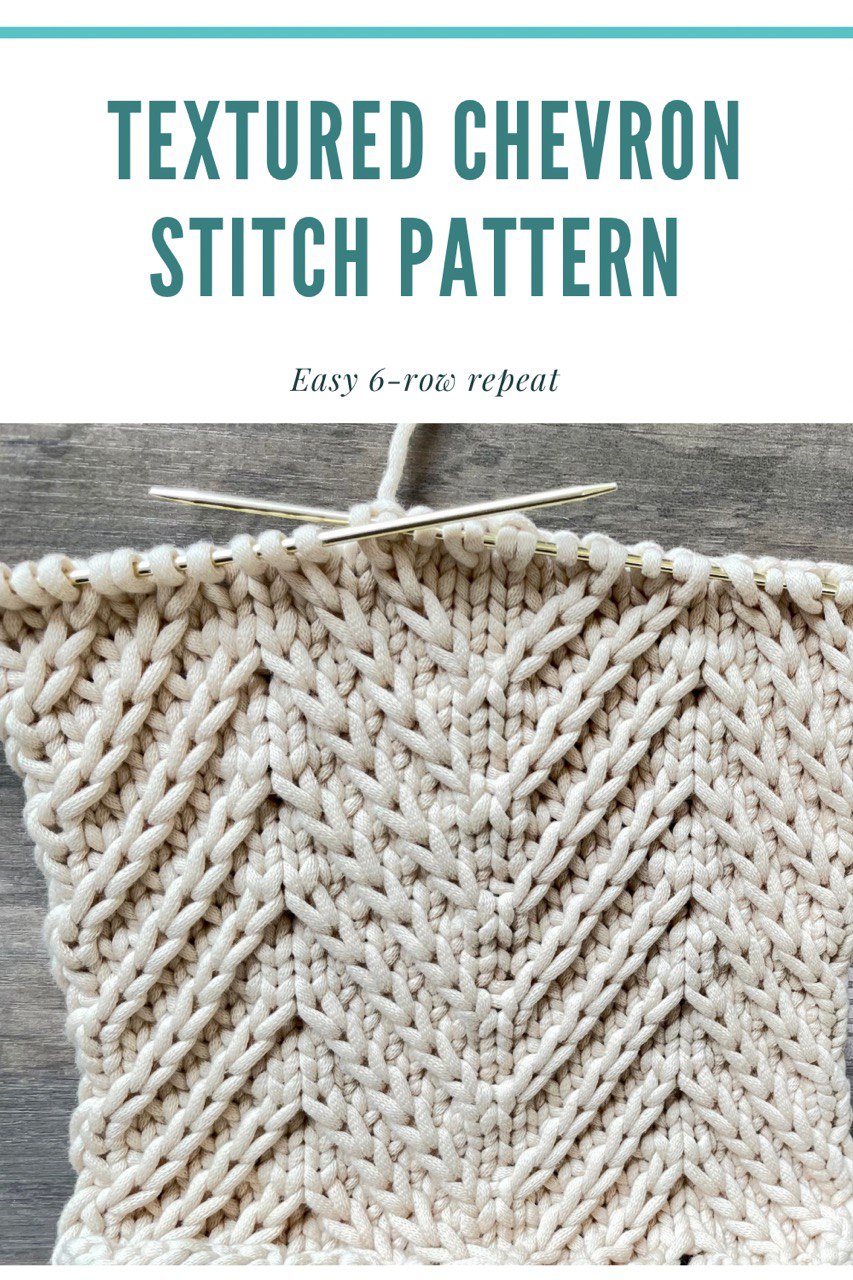
Textured Chevron Knitting Stitch – Simple 6-Row Repeat
Hello and welcome!Fariba here from WatchKnitting. In today’s video, I’ll show you how to work this stunning textured chevron pattern. 🧶 Pattern Basics The pattern is created using simple crosses over two stitches: 🔁 Row Breakdown Row 1, 3, 5: Purl across Purl across, picking up the edge stitch at the beginning and finishing with…
- Beginners (51)
- Methods of Cast-on (8)
- Patterns & Projects (61)
- Rib Stitches (15)
- Step by step knitting for beginners (61)
- Stitches (101)
- Two-color work (5)
- Uncategorized (5)
Free knitting tutorials
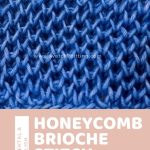
- Honeycomb Brioche Stitch in the Round (Knitting Tutorial)
 The Honeycomb Brioche Stitch creates a thick, squishy, and beautifully textured fabric that looks intricate but is surprisingly easy once you understand the rhythm of the pattern. When worked in the round, the stitch forms a dense honeycomb texture that is perfect for hats, cowls, sweaters, and other cozy knit projects. In this tutorial, you’ll… Read more: Honeycomb Brioche Stitch in the Round (Knitting Tutorial)
 - Honeycomb Brioche Stitch (Flat) – Step-by-Step Tutorial
 The Honeycomb Brioche Stitch creates a thick, squishy, beautifully textured fabric that looks intricate but is actually very rhythmic once you understand the structure. In this tutorial, I’ll show you how to knit it flat, and how to easily identify your right side and wrong side rows so you never get lost. This stitch is… Read more: Honeycomb Brioche Stitch (Flat) – Step-by-Step Tutorial
 - Why Knit and Purl Look Different | Western vs Eastern & the Hidden Rule That Makes Them Match
 Hello everyone! Fariba here from the Watch Knitting YouTube channel. In this post, I want to dive into all the different ways you can work knit and purl stitches, exploring the variations that can make your fabric look even—or twist it unexpectedly. In my latest video, I break down 16 possible combinations of knit and… Read more: Why Knit and Purl Look Different | Western vs Eastern & the Hidden Rule That Makes Them Match