


Hey everyone, it’s Fariba! Welcome back to the Watch Knitting channel.
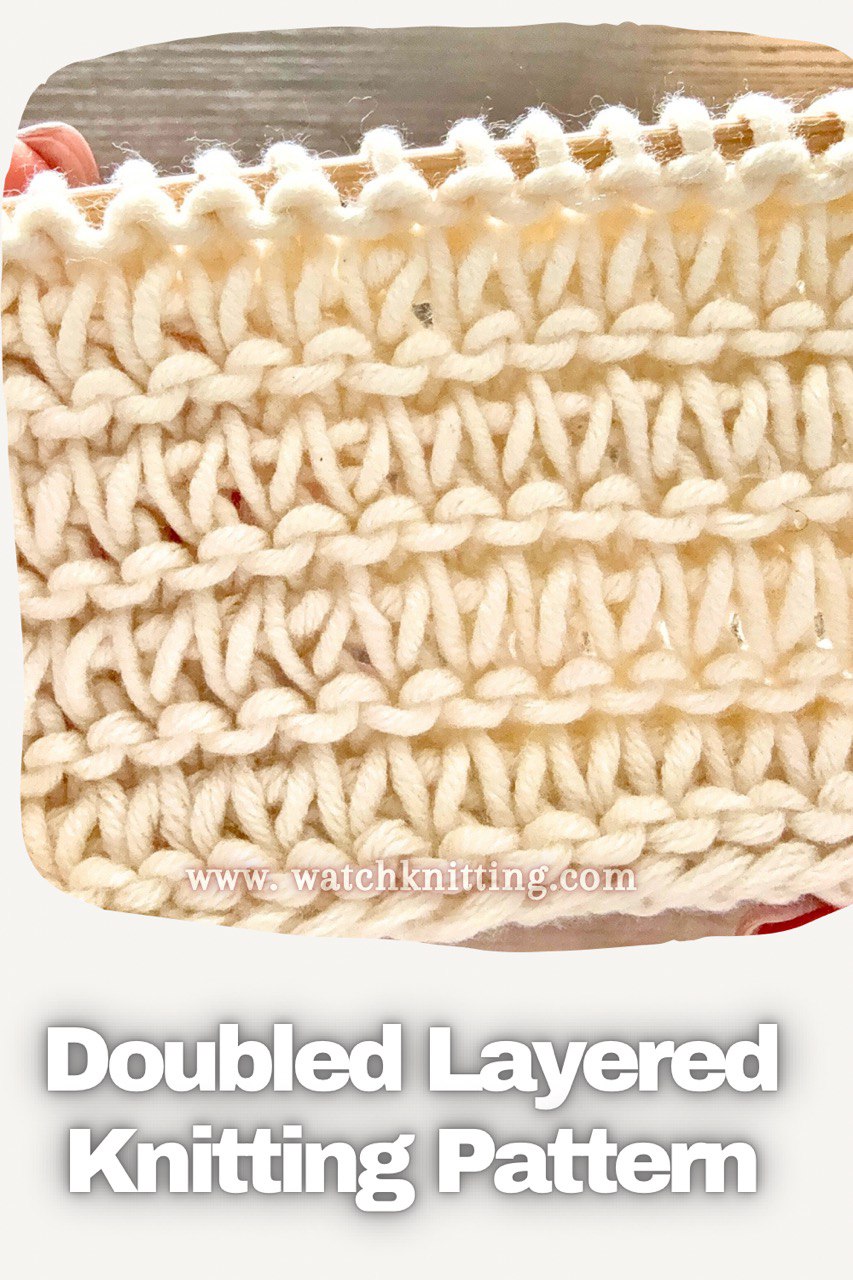
Today, I’m excited to share a really fun knitting pattern with you. This textured fabric is super light and breezy, yet it has a nice thickness. Both sides are beautifully textured, and the back looks just as pretty as the front — perfect for reversible projects.
This pattern is simple, with a 4-row repeat. You’ll just need to cast on a multiple of 2 plus 1, so any odd number works. That makes it really easy to adjust for any project size.
For my demo, I cast on 11 stitches using worsted yarn and 3.5 mm needles. This swatch here is worked with fine yarn and 2.5 mm needles, so you can see how the texture differs between yarn weights.
Pattern:
4 – row repeat
Multiple of 2 + 1
- Row 1 (RS): Knit
- Row 2 (WS): Edge, rep (KBG, K1), edge
- Row 3 (RS): Edge, rep [K1, SL1 wyif], edge
- Row 4 (RS): Edge, rep [K2tog tbl], edge
Abbreviations:
KBG = Knit between stitches (insert right needle into the gap between next two sts on left needle from front to back and knit 1)
How to Work the Pattern
The pattern begins on the wrong side. For the edge stitches, pick up the first stitch at the beginning of the row and knit the last stitch at the end.
Row 1
Knit the edge stitch, then knit across the row — just basic knit stitches.
Row 2
Start by picking up the edge stitch. Insert the right needle into the gap between the next two stitches, grab the working yarn, and pull it through. That stitch will stay there, then knit the original stitch.
Repeat this across the row. By doing this, you create long stitches that are mixed with the original stitches. Continue this method, and don’t forget to knit the edge stitches at the beginning and end.
Row 3
Knit all regular stitches, but slip the long stitches you picked up earlier. Bring the yarn to the front on the wrong side as you slip stitches, and continue this pattern across the row.
Row 4
This is the last row of the repeat. Pick up the edge stitch. Knit the long stitch and the original stitch together through the back loop. Continue this across the row, knitting edge stitches as usual.
Finished Look
After completing the repeat, you’ll notice long, leather-like stitches and a thick, textured fabric. I love how it turned out with thicker yarn, but both fine and worsted yarn create beautiful textures.
This pattern is perfect for cardigans, sweaters, or any project where you want fabric that is airy yet thick at the same time.
I hope you enjoyed this tutorial and that you’ll try it in your next project!
Stay tuned for more knitting tutorials on my channel, and don’t forget to share this with your friends.
Thanks for watching, and have a wonderful day!

Leave a Reply