


Hello everyone! Fariba here from the Watch Knitting YouTube channel. In this post, I want to dive into all the different ways you can work knit and purl stitches, exploring the variations that can make your fabric look even—or twist it unexpectedly.
In my latest video, I break down 16 possible combinations of knit and purl stitches. By the end, you’ll understand the different styles and terms—like working clockwise or through the back loop—and gain a simple, practical method to make any knit and purl stitches work together beautifully.
Why Are There Different Styles?
If you’ve noticed, some knitters work stitches differently from others. The good news? None of these methods are wrong. Different countries have developed distinct knitting styles over time. What really matters is how the knit and purl stitches align with each other, so the fabric lies flat and looks consistent.
Understanding the Combinations
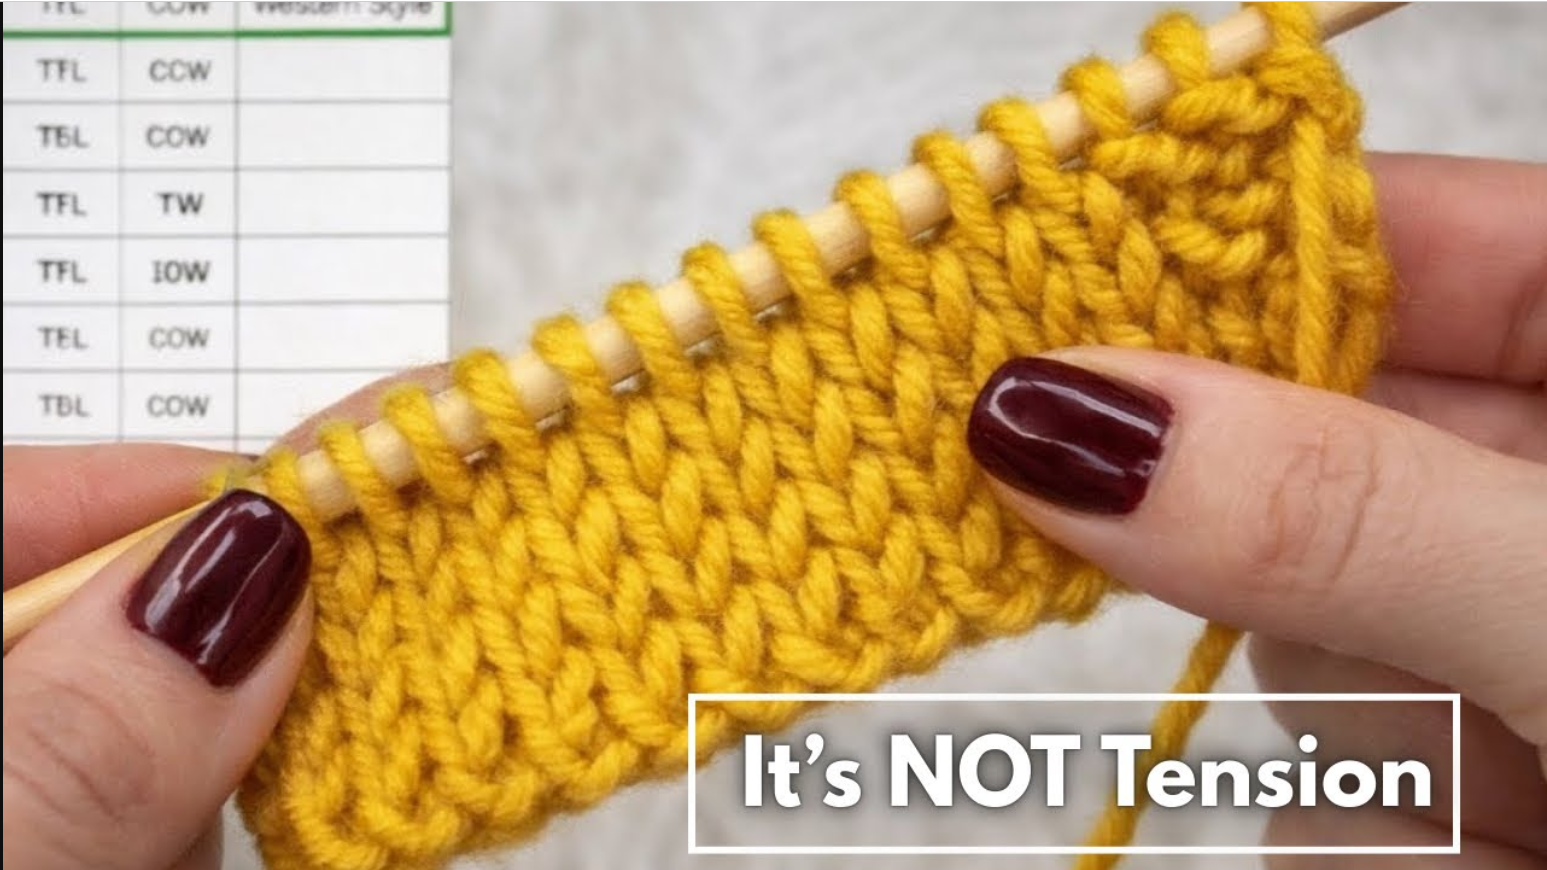
Each stitch has two key variables:
- Needle insertion – through the front loop or back loop.
- Yarn wrap – clockwise or counterclockwise.
Both knit and purl stitches can be worked using these methods. When you combine all possibilities, you get 16 combinations.
In the video, I demonstrate each one:
- Work four rows per combination (one knit row + one purl row repeated twice).
- I show both English (yarn in right hand) and Continental (yarn in left hand) styles.
- Edge stitches are kept in garter stitch to prevent curling.
Key Combinations Demonstrated
Some examples:
- Western Style: Knit through the front loop with a counterclockwise wrap; purl through the front loop with the same wrap. Works well for most fabrics.
- Mixed Styles: Changing the yarn wrap or stitch insertion can create twisted or uneven stitches, which are fine for certain textured fabrics but not ideal for stockinette.
- Eastern Style: Knit and purl through the back loop with a clockwise wrap, creating a classic Eastern stockinette look.
I also experiment with various combinations to show which ones produce even fabric and which result in twisting, leaning, or uneven textures.
The One Rule You Need
Here’s the golden rule: always follow the leading leg of the stitch.
- Leading leg in front → work through the front loop.
- Leading leg in back → work through the back loop.
By following the leading leg rather than stressing about clockwise vs. counterclockwise, your fabric will stay even regardless of style.
Final Thoughts
You don’t need to memorize all 16 combinations or stick to a single style. Understanding how knit and purl stitches interact will help you:
- Fix mistakes quickly
- Read patterns with confidence
- Create smooth, even stockinette fabric
I hope this tutorial clears up the confusion around knit and purl stitches and helps you knit with more confidence.
Watch the full video for a detailed, step-by-step demonstration of all 16 combinations and see the results after blocking.
Happy knitting! 🧶


Leave a Reply