


Hi everyone! I’m Fariba, and welcome back to the Watch Knitting channel.
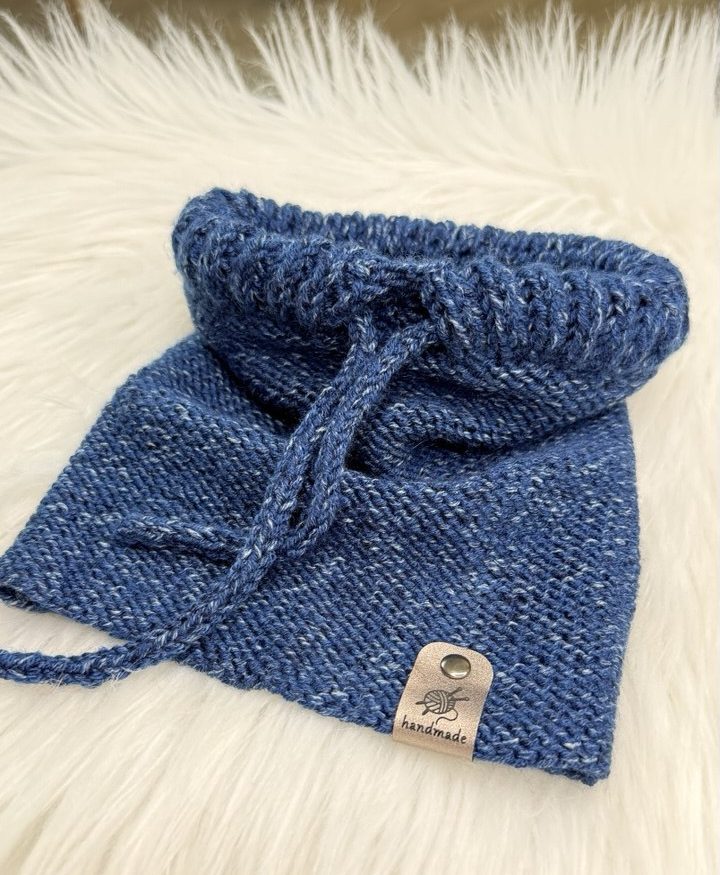
Today I’m excited to show you how to knit this stylish drawstring cowl for men. The adjustable drawstring adds a modern, practical touch while keeping the cowl snug and warm, perfect for chilly days!
This is a super-easy project, great for beginners who want to try something cozy, useful, and modern. The lower edge of the cowl is slightly open so it sits comfortably over the shoulders.
🧵 Materials You’ll Need
- Yarn: Loops & Threads Lux Merino Wool Blend (125g, color: Ebony, #3 weight)
- Needles:
- 3.5 mm circular needles (16-inch)
- Double-point needles (for the drawstring cord (optional; you can use circulars too)
- Accessories: Tapestry needle, stitch marker, scissors, measuring tape, Safety pin
Recommended needle size on label: 3.75 mm
My choice: 3.5 mm circulars for a denser, neater texture.
🪡 Pattern Notes
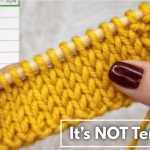
For the edge, I worked a brioche rib stitch, which is super stretchy and beautifully textured.
If you prefer a simple rib stitch, you can substitute it! Just adjust your cast-on number accordingly.
- Cast on:
- 72 stitches for brioche rib stitch
- 108 stitches if using a simple rib stitch (equal in finished width)
When casting on, allow about 15 cm of yarn per 10 stitches plus extra for the tail.
🔹 Step 1: The Brioche Rib Edge
Work flat for about 1 inch before joining in the round.
Base Row (Flat):
Knit 1, (yarn over, slip 1, knit 1) — repeat to the end.
This step creates your paired stitches for brioche rib.
Continue working flat for 1 inch, repeating the following:
- Paired stitches: Knit 2 together
- Single stitches: Slip 1, yarn over
🔹 Step 2: Join in the Round
Once your piece measures about 1 inch, it’s time to join the circular.
Make sure your stitches are aligned — single and double stitches alternate correctly. Join the round by knitting the two single edge stitches together through the back loop.
From this point forward:
- Work purl 2 together for paired stitches
- Slip 1, yarn over for single stitches
Alternate these rounds as follows: - One round of knit-together pairs
- One round of purl-together pairs
Continue until your brioche section measures the desired height.
🔹 Step 3: Knit the Folded Edge
Work one round of plain knit stitches, knitting the yarn-over stitches through the back loop.
Then fold the edge inward and attach the cast-on edge by picking up stitches from the outer side and knitting them together with the live stitches.
This creates a smooth folded brim.
🔹 Step 4: Create the Open Shoulder Section
Knit about 8 cm (3 in), then start working flat again to form the open section at the lower back.
Alternate one purl row and one knit row, slipping the last two stitches of each row without knitting to form a clean i-cord edge.
Continue for 8–10 cm, then cast off neatly.
🔹 Step 5: Knit the Drawstring Cord
Using double-point or circular needles:
- Cast on 3 stitches (you can use 4 or 5 for a thicker cord).
- Knit across the row, then slide the stitches to the other end of the needle and knit again without turning.
Repeat this process until the cord reaches your desired length.
Use a tapestry needle or safety pin to thread the cord through the cowl’s top edge.
✨ Finished Look
Your drawstring brioche cowl is now ready!
The folded edge, open shoulder shaping, and cord closure give it a sleek, modern style while keeping it warm and comfortable.
💬 Final Thoughts
I hope you enjoyed this tutorial!
If you make this cowl, I’d love to see your version — tag @WatchKnitting on social media or leave a comment below.
Don’t forget to check out my detailed brioche stitch tutorials linked below if you need extra help.
Stay tuned for more modern and beginner-friendly knitting patterns every week.
Happy knitting! 💖

Leave a Reply